If you love soft, delicate, airy plants, the Maidenhair Fern might be one of the most beautiful houseplants you’ll ever bring home. But yes—she has a diva reputation. Don’t worry! With the right guidance, this “difficult plant” becomes surprisingly manageable and extremely rewarding.
Meet the Maidenhair Fern (and Don’t Be Intimidated!)
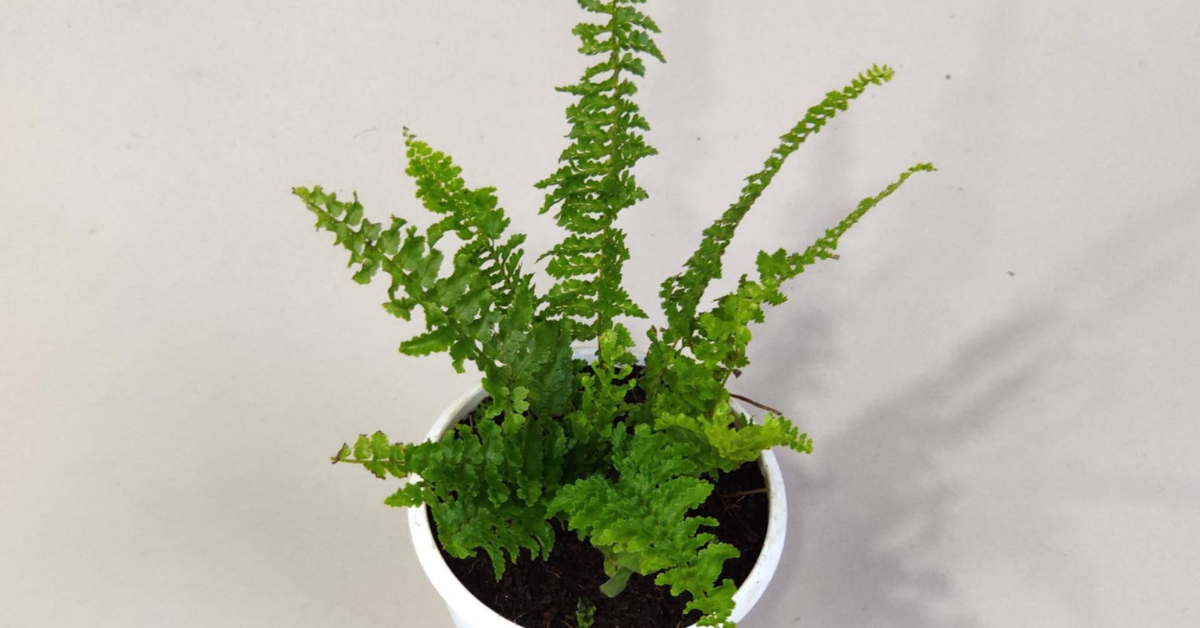
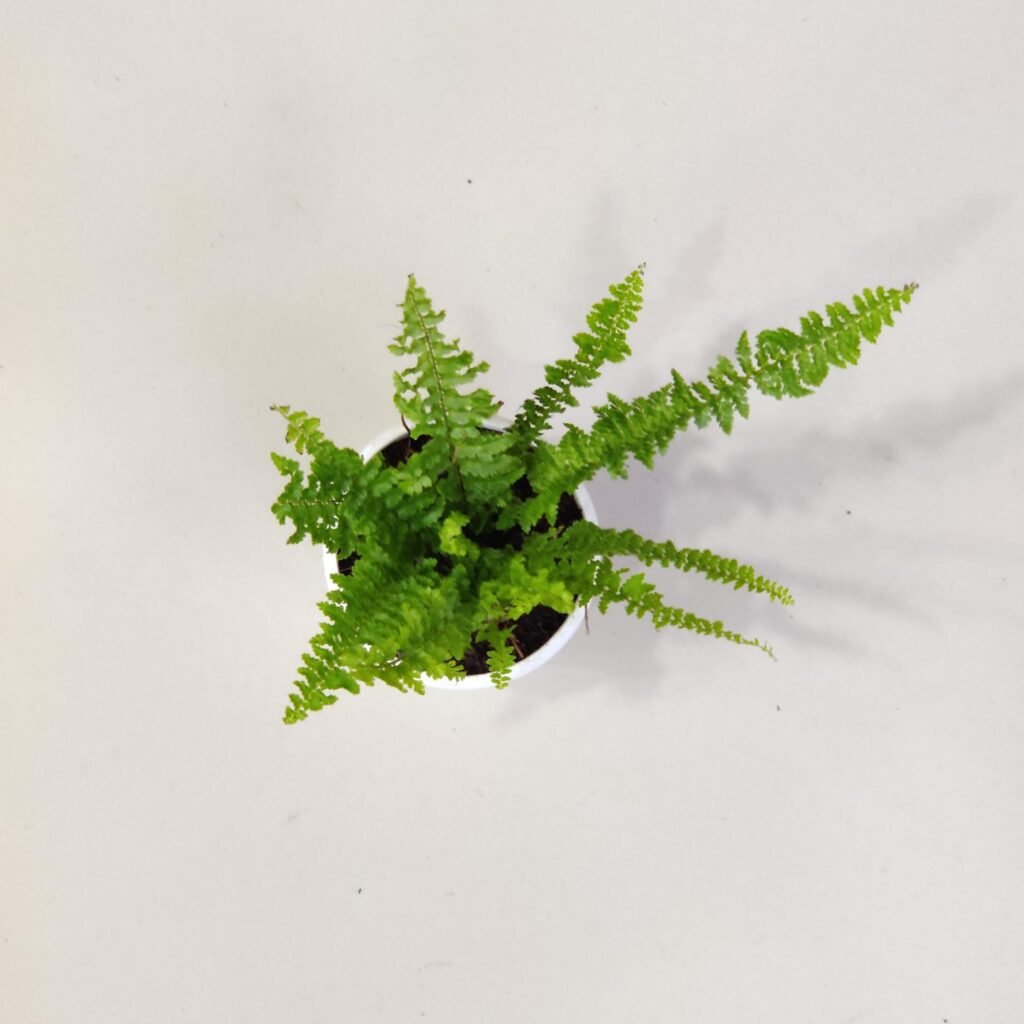
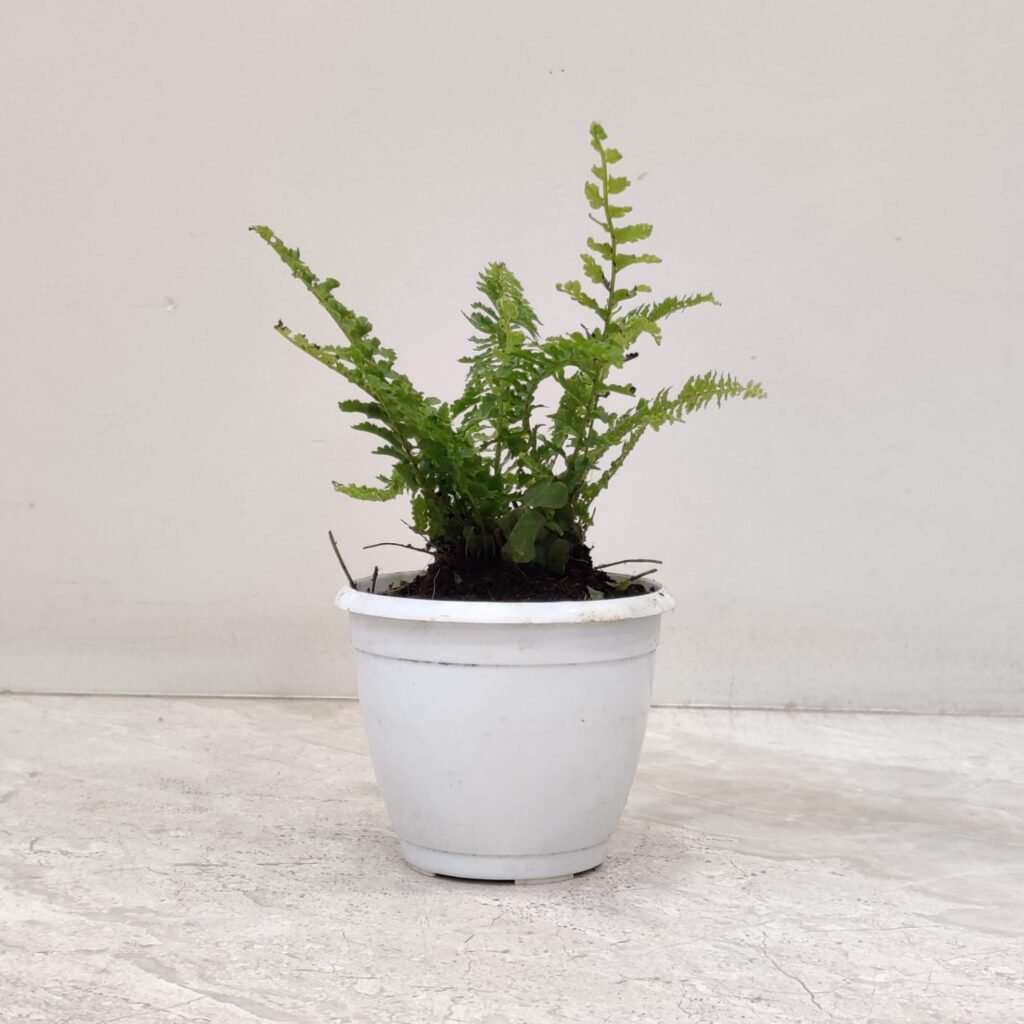
The Maidenhair Fern (Adiantum raddianum) is famous for its dreamy, fan-shaped leaves that flutter on thin black stems. It looks fragile, elegant, and almost unreal. Many people fall in love at first sight… and then panic because they’ve heard it’s “hard to keep alive.”
Here’s the truth:
This plant isn’t actually difficult—it’s just very specific about two things:
- Consistent moisture
- Bright, indirect light
If you get these two right, the Maidenhair Fern becomes a forgiving, long-lasting, and insanely beautiful houseplant.
This beginner-friendly guide will walk you through everything you need—from light and soil to propagation and troubleshooting problems. By the end, you’ll feel confident caring for this elegant tropical beauty.
Let’s begin!
1. Understanding the Maidenhair Fern: What Makes This Plant Special?
Before learning how to care for it, it’s helpful to know a little about its origins and personality.
Where it comes from
Maidenhair Ferns grow naturally on the humid, shaded forest floors of the tropical Americas and the West Indies. They love warmth, moisture, and soft filtered light.
Growth style
- Slow grower
- Reaches 1–2 feet tall and wide
- Lives up to 15 years with good care
- Suitable for USDA Zones 10–11 (indoors for most homes)
Why beginners struggle
Most issues come from:
- Letting the soil dry out
- Giving too little light
- Using the wrong pot
Once you fix these, the plant thrives beautifully.
2. Light Requirements: Giving Your Fern the Perfect Glow
Light is one of the biggest keys to success.
What type of light does a Maidenhair Fern like?
Think of the soft, dappled sunlight under tall trees in a rainforest. That’s exactly what your fern wants.
Ideal light:
- Bright indirect light
- Filtered or dappled light
- Light levels around 400–800 foot-candles (if you use meters or apps)
The Ultimate Guide to Maidenhai…
Good locations:
- Near a north-facing window
- A few feet away from an east-facing window
- Close to a large window with sheer curtains
- On a shelf that receives bright but indirect light
Bad locations:
- Direct afternoon sun (burns leaves)
- Very low-light corners (yellowing, slow growth)
- Dark bathrooms
Can it handle direct sun?
Surprisingly—yes, but only if you keep the soil very moist. 1–2 hours of gentle morning sun can be okay.
But avoid harsh afternoon rays.
3. Watering: The MOST Important Part of Maidenhair Fern Care
If you take away only one lesson, it should be this:
Never let the soil dry out. Not even once.
Maidenhair Ferns absorb moisture constantly. If the soil becomes even half dry, the plant can crisp up overnight.
How to water correctly
- Water thoroughly until it drains out
- Keep the soil evenly moist
- Do NOT let the pot sit in water
- Check the soil often (every 1–2 days in summer)
- Water again the moment the pot feels lighter
Signs you’re underwatering:
- Crispy, brown leaves
- Entire fronds drying up in a day
- Leaves falling off
- Plant collapsing
Signs of overwatering:
- Yellow leaves
- Mushy stems
- Soggy soil smell
Tip: Pick up your pot regularly. Weight is the best way to monitor moisture.
4. Creating the Perfect Environment: Temperature, Humidity & Airflow
Temperature
- Loves warmth: 21°C (70°F) or above
- Avoid anything below 15°C (60°F)
- Keep away from AC vents and heater blowers
Humidity
Maidenhair Ferns love humidity but don’t depend on it as much as people think.
They do GREAT if:
- They have enough light
- The soil stays evenly moist
Low humidity doesn’t directly cause crispy fronds—it just makes the soil dry faster.
Easy ways to increase humidity
- Use a humidifier nearby
- Place in a bathroom with window light
- Group plants together
Avoid misting—it doesn’t actually raise humidity.
5. Soil & Potting: Give Your Fern the Foundation It Needs
The perfect soil mix
Your goal: moist, fluffy, rich, and well-draining.
Recommended mix:
- High-quality potting mix
- 20–50% organic matter like compost
- Optional: A little cocopeat for moisture retention
The soil shouldn’t stay soggy, and it should never become dry and dusty.
The right pot
Choose:
- Plastic or
- Glazed ceramic
Avoid:
- Terracotta (dries too fast!)
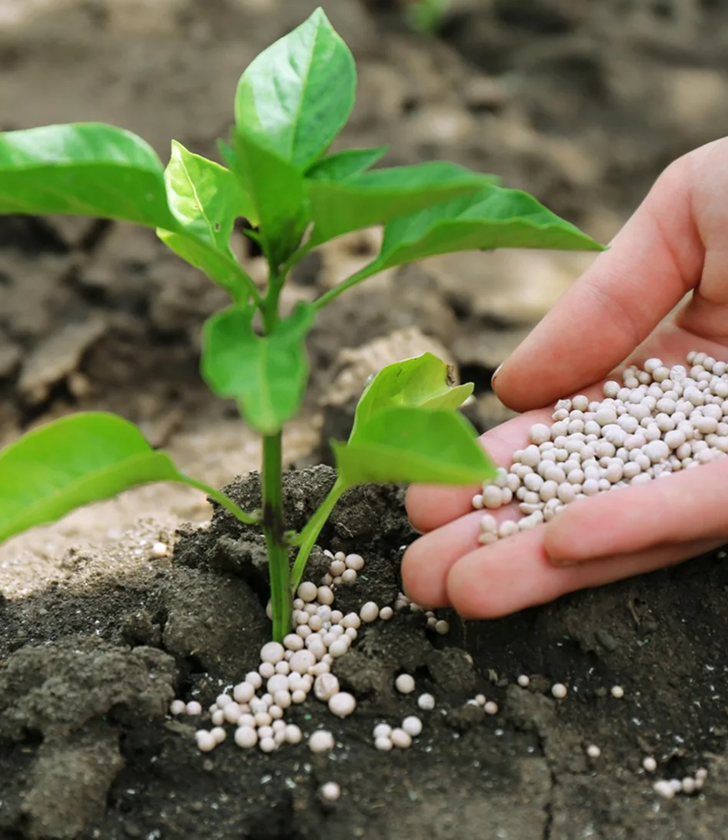
6. Fertilizing, Pruning & Routine Care
Fertilizing
Good news—Maidenhair Ferns don’t need much food.
You may fertilize:
- Once a month
- During the growing season (Mar–Sep)
- Using a diluted (½ strength) balanced fertilizer
Avoid:
- High-nitrogen fertilizers (cause leaf-tip burn)
- Raw coffee grounds (they block water flow)
Pruning Your Maidenhair Fern
Maidenhair Ferns don’t need heavy pruning, but a little routine trimming keeps them healthy, tidy, and full of fresh growth.
What to Prune
Just remove the parts that are no longer healthy:
- Brown fronds – These are usually from dryness or old age.
- Crispy leaflets – If only the tips are brown, trim carefully, but full brown fronds should be removed at the base.
- Damaged leaves – Torn or broken fronds won’t recover.
- Yellow leaves – Often a sign of overwatering; remove them gently.
- Old stems at the crown – Clearing dead stems encourages new fronds to sprout.
How to Prune Properly
- Use clean, sharp scissors or pruning shears.
- Cut fronds down to the crown, not halfway.
- Always prune dry, damaged, or weak fronds quickly so the plant can redirect energy to healthy growth.
- After pruning, check the plant’s environment—brown or yellow leaves usually signal a care adjustment is needed.
Benefits of Regular Pruning
- Encourages fresh, vibrant fronds
- Improves airflow through the plant
- Prevents pests from hiding in old leaves
- Keeps the fern looking lush and neat
- Helps the plant use its energy more efficiently
Repotting Your Maidenhair Fern
Maidenhair Ferns prefer to be slightly root-bound, so you don’t need to repot often. However, repotting becomes important when the plant’s growth slows or moisture levels become harder to maintain.
When You Should Repot
Repot only when you notice:
- Roots filling the pot (you’ll see them circling or coming out of drainage holes)
- The plant dries out extremely fast, even with frequent watering
- The soil breaks down, looks compacted, or drains poorly
- Poor growth despite proper care
- Salt buildup on the soil surface from fertilizer
- The pot becomes unstable because the plant is top-heavy
Maidenhair Ferns usually need repotting every 1–2 years.
Choosing the Right Pot
Select a pot that is:
- Only 1–2 inches larger in diameter
- Made of plastic or glazed ceramic (helps retain moisture)
- Equipped with proper drainage holes
Avoid terracotta, as it dries out too quickly for this moisture-loving plant.
How to Repot (Beginner-Friendly Steps)
- Water the plant a few hours before repotting—moist soil is easier to work with.
- Gently remove the fern from the pot, supporting the root ball so delicate fronds don’t snap.
- Loosen the roots lightly, especially if they’re circling the pot.
- Do NOT break the root ball aggressively—Maidenhair roots are delicate.
- Place it into the new pot, keeping the crown at the same height as before.
- Fill with fresh, rich potting mix (with compost or cocopeat for moisture retention).
- Water thoroughly until excess drains out.
- Keep the plant in a bright, indirect light spot after repotting.
- Avoid fertilizing for 4–6 weeks while new roots settle.
After-Repot Care Tips
Watch for new fronds—they indicate successful adjustment.
Expect a little stress—some fronds may droop temporarily.
Keep the soil consistently moist, but not soggy.
Increase humidity for a week or two to reduce stress.
7. Propagating Your Maidenhair Fern (The Beginner-Friendly Way)
Propagation sounds scary—but with Maidenhair Ferns, it’s simple.
Best method: Division
Here’s how:
Step 1: Pre-water
Give the plant a deep drink 1–2 days before dividing.
Step 2: Prepare new pots
Fill them 1/3 with fresh potting mix.
Step 3: Remove the plant
Gently lift it from its container.
Step 4: Divide
Using a clean knife:
- Cut the root ball into 2–3 sections
- Ensure each clump has roots + fronds
Step 5: Replant
Place each section in its new pot and fill around it.
Step 6: Water
Water well and skip fertilizer for 2 months.
Want to grow more ferns beyond your current plant?
For a deeper dive into propagation methods — from dividing rhizomes to growing from spores — check out How to Propagate Ferns – The Complete Guide for Plant Lovers.
8. Troubleshooting: Fixing Common Maidenhair Fern Problems
Let’s go through every issue you might face and how to fix it quickly.
Problem 1: Brown, Crispy Leaves
This is the most common issue.
Causes:
- Dry soil
- Dry air (which dries soil faster)
- Missed watering
Fix:
- Water immediately
- Increase humidity
- Improve light
- Remove crispy fronds
If the whole plant dried out, cut back everything. With luck, new growth will appear in a few weeks.
Problem 2: Yellow Leaves
A classic sign of overwatering.
Fix:
- Let topsoil dry slightly
- Improve drainage
- Never let it sit in water
- Repot if roots are mushy
Problem 3: Curling Leaves
This means: “Please give me more humidity!”
Fix:
- Add a humidifier
- Move to a naturally humid bathroom
- Group plants together
Problem 4: One or Two Fronds Dying
Relax—this is normal turnover.
Old fronds die as new ones grow.
Problem 5: Pests
Maidenhair Ferns only attract:
- Scale
- Mealybugs
Spores (small brown dots under leaves) are normal, not pests.
9. Different Types of Maidenhair Ferns You May Love
Adiantum pedatum
Northern variety—great for outdoor shade gardens.
Adiantum aleuticum
Western Maidenhair—loves water spray near waterfalls.
Adiantum capillus-veneris
Venus Maidenhair—more common and adaptable.
Adiantum peruvianum
Silver Dollar Maidenhair—bigger, bolder leaves.
10. Final Thoughts: A Rewarding Houseplant for Anyone Who Loves Greenery
The Maidenhair Fern may seem high-maintenance, but once you understand its tropical preferences, it becomes easy to manage:
- Keep soil evenly moist
- Provide bright indirect light
- Use the right pot and soil
- Maintain warmth and gentle humidity
Do these consistently, and your Maidenhair Fern will reward you with lush, fluttery fronds for years.
FAQs
1. Are Maidenhair Ferns hard to keep alive?
They’re only tricky if you forget to water them. With good light and consistently moist soil, they’re surprisingly easy.
2. Where should I place a Maidenhair Fern indoors?
Near a north or east window where it receives bright but indirect light.
3. How often should I water a Maidenhair Fern?
As often as needed to keep the soil evenly moist. This may mean every 1–3 days depending on your climate.
4. What happens if my Maidenhair Fern dries out?
Fronds turn crispy within a day. Cut them back, water deeply, and wait for new growth.
5. Should I mist a Maidenhair Fern?
No. Misting doesn’t increase humidity enough to be helpful.
6. Why are the leaves curling?
Humidity is too low. Move it to a more humid spot or run a humidifier.
7. Why are the leaves yellow?
Most likely overwatering or low light.
8. How do I propagate my Maidenhair Fern?
By dividing the root ball into sections and potting them separately.
Start Your Plant Journey With Confidence
New to plant care? We’ve got everything you need to grow healthy indoor plants.
Explore beginner-friendly plants and supplies