Alocasia Black Velvet (Alocasia reginula), affectionately known as the “Little Queen,” is the crown jewel of indoor houseplants. Its velvety, almost black leaves with silver veins create a stunning visual contrast, making it a must-have for collectors and beginners alike. Native to the lush rainforests of Borneo, this compact tropical beauty has earned its place as a top-tier ornamental plant.
In this ultimate guide, we’ll take you through everything you need to know about Alocasia Black Velvet—from care tips and styling inspiration to troubleshooting yellow leaves and repotting like a pro.
Regal Appearance: Why Alocasia Black Velvet Stands Out
If you’re into unique foliage, the Alocasia Black Velvet is a showstopper. Here’s what makes this plant royalty:
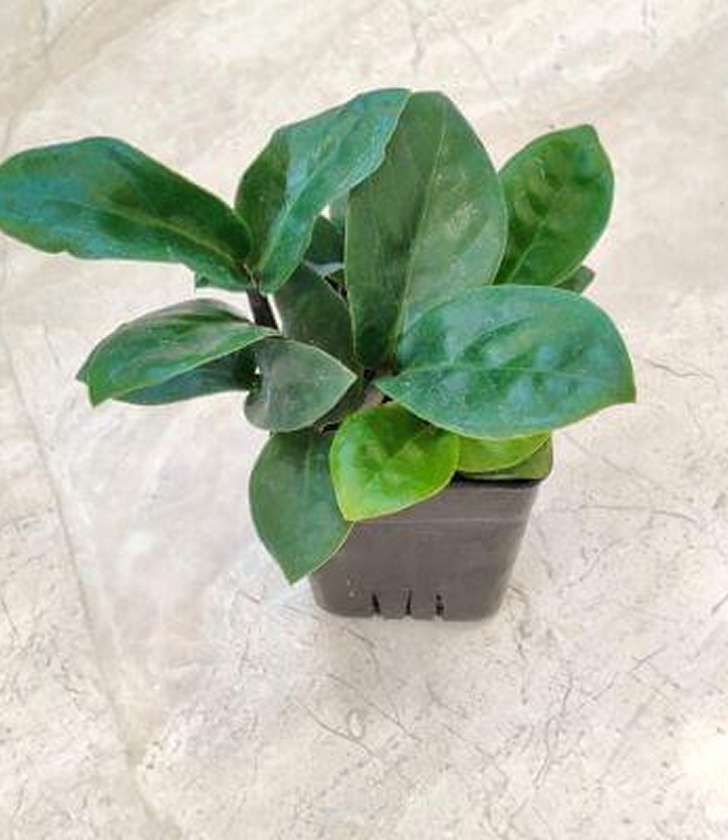
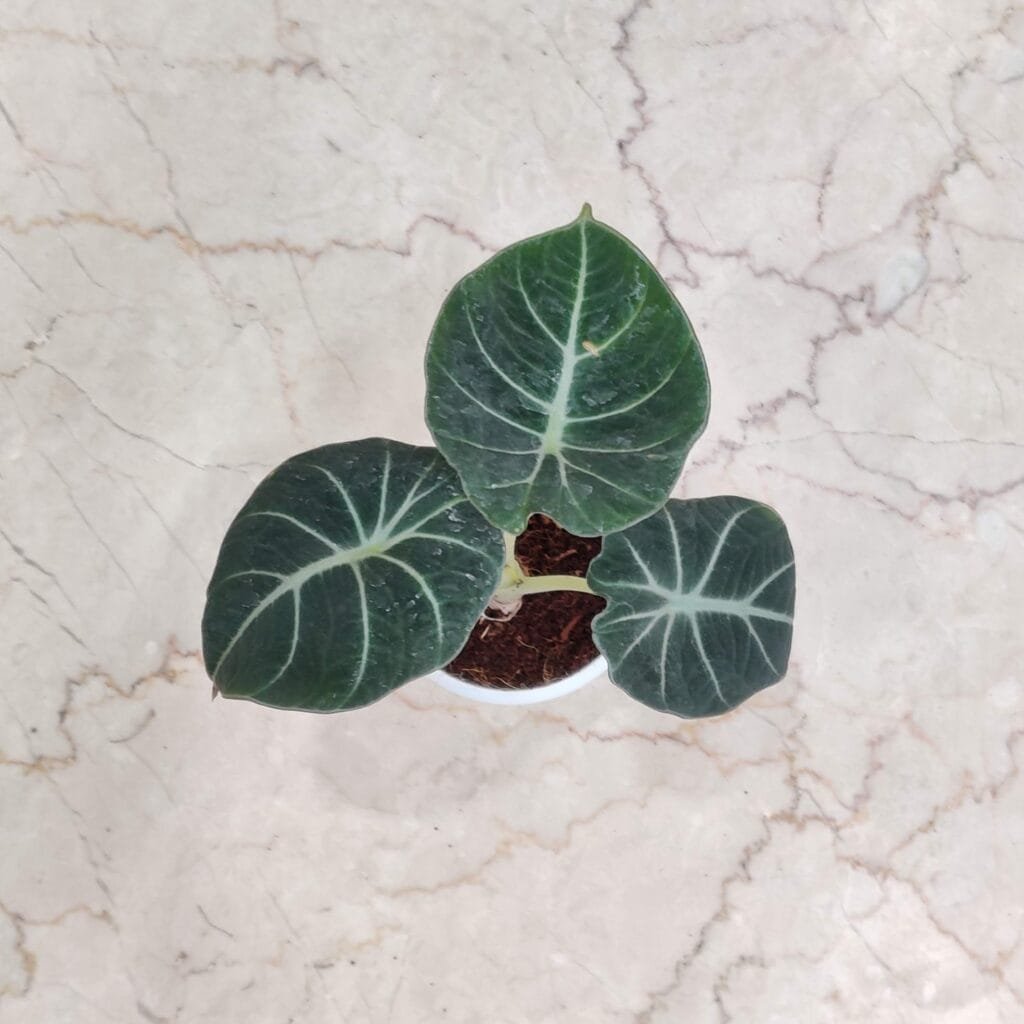
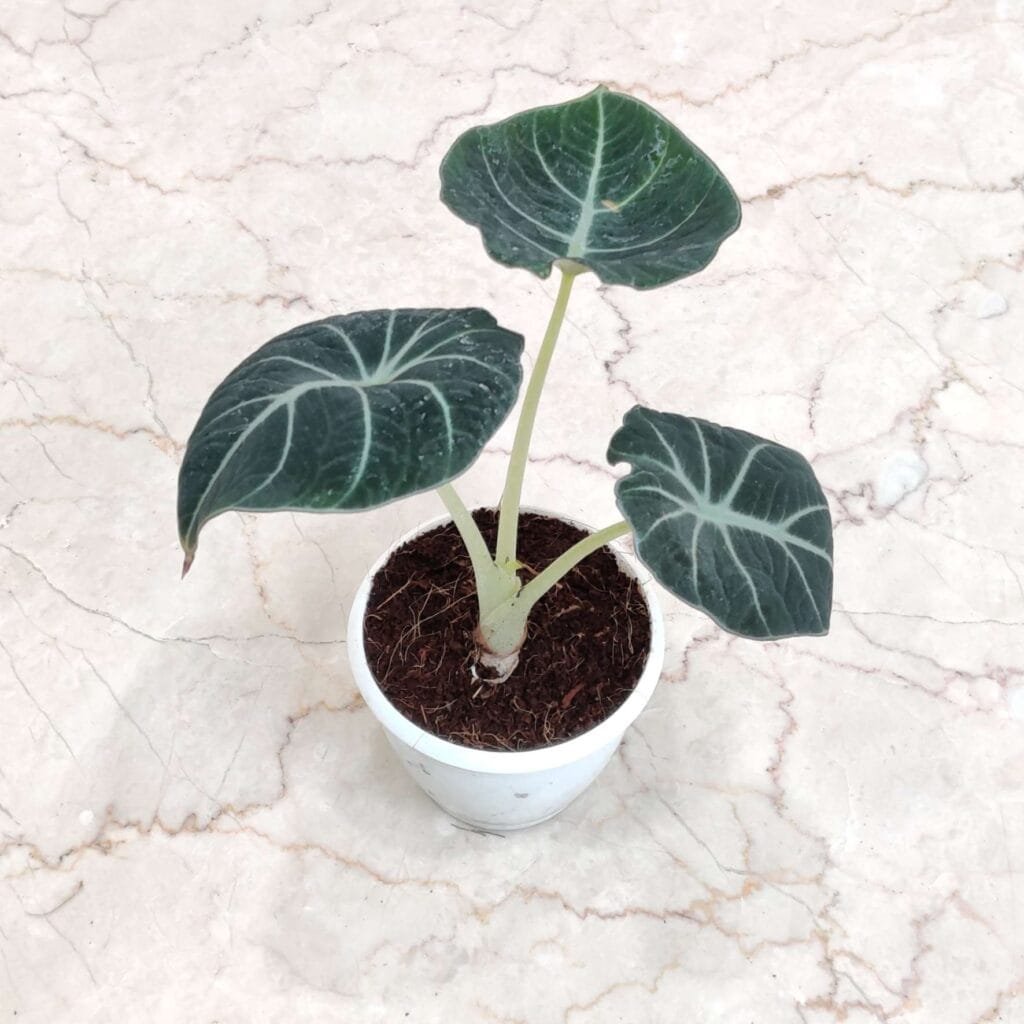
- Velvety Texture: Deep, dark-green foliage that almost looks black.
- Silver Veins: A stunning contrast that makes each leaf look hand-painted.
- Compact Size: Grows up to 1–2 feet tall, ideal for small spaces and apartment living.
- Leaf Shape: Heart-shaped with a thick, slightly leathery feel.
- Undersides: Often a deep purple—another dramatic flair.
This plant doesn’t bloom often—and when it does, the flowers are minimal. But trust us, the foliage is the real diva here.
Native Origins and Botanical History
Hailing from Borneo’s rainforests, Alocasia reginula lives in a humid, tropical environment. The term reginula literally means “little queen” in Latin, a nod to its majestic looks and refined size. It became popular in Europe during the Victorian era when plant collectors were fascinated with tropical rarities.
Why Every Indoor Garden Needs an Alocasia Black Velvet
Thinking of adding a new plant to your home jungle? Here’s why the Little Queen deserves a throne:
- Compact Size – Perfect for tabletops and shelves.
- Tolerant and Resilient – Easier to care for than many other Alocasias.
- Air-Purifying – Naturally helps improve indoor air quality.
- Instagram-Worthy – Aesthetic appeal for your home and your feed.
- Rare but Rewarding – Makes you feel like a pro plant parent.
Interesting Facts
- Native Habitat: Native to Southeast Asia, specifically the rainforests of Borneo, where it grows under dappled light conditions.
- Toxicity: While beautiful, Alocasia Black Velvet is toxic to humans and pets due to calcium oxalate crystals, so it should be kept out of reach.
- Propagation: It can be propagated through division or rhizome cuttings, allowing you to share this stunning plant with friends.
- Growth Habit: It forms a branched, rhizomatous stem and is known for its slow growth rate, making it a low-maintenance choice.
Alocasia Black Velvet Plant Care Guide
Let’s break down the care routine to keep your Alocasia healthy and happy.
Light Requirements
- Needs bright, indirect light.
- Avoid direct sun, which can scorch its velvety leaves.
- Can tolerate low light, but growth may slow.
Watering Tips
- Water only when top 2 inches of soil are dry.
- Use distilled or rainwater; tap water may cause leaf damage.
- Avoid soggy soil—this leads to root rot.
Temperature & Humidity
- Thrives in 60–80°F (15–30°C).
- Needs high humidity (~60% or higher).
- Use a humidifier or group it with other tropical plants.
Soil Preferences
- Use a well-draining mix—think peat, perlite, orchid bark.
- pH should be mildly acidic (5.5–6.5).
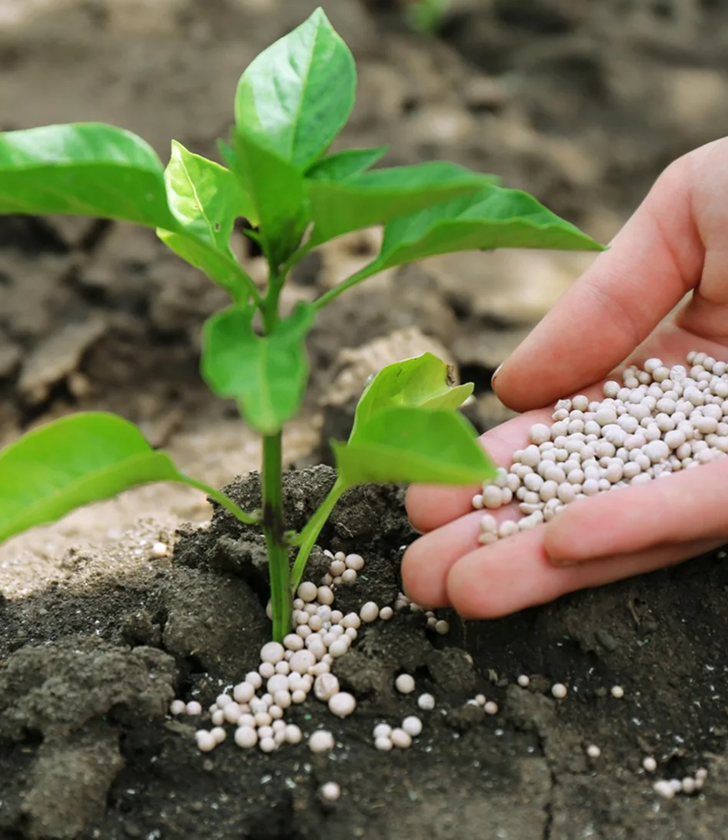
Fertilizing Routine
- Feed monthly in spring and summer.
- Use a balanced liquid fertilizer, diluted to half-strength.
- Skip feeding during winter dormancy.
Pruning and Maintenance
- Only prune dead or yellowing leaves.
- Regularly dust the leaves to keep them looking vibrant.
Troubleshooting: Yellow Leaves on Alocasia Black Velvet
Nothing hurts more than watching your prized plant turn yellow. Let’s get to the root of it.
1. Overwatering and Root Rot
- Soggy soil suffocates roots.
- Leaves turn yellow, stems droop, and roots go mushy.
Fix: Repot in dry, airy soil. Trim rotten roots.
2. Underwatering
- Leaves dry, curl, and yellow.
- Soil pulls away from the pot edges.
Fix: Water thoroughly when dry, and monitor moisture.
3. Insufficient Light
- Pale yellowing leaves, slower growth.
Fix: Move to a brighter spot, avoiding direct sunlight.
4. Pests (Spider Mites, Aphids, Mealybugs)
- Yellow speckles, webbing, or sticky residue.
Fix: Wipe leaves with neem oil or insecticidal soap. Isolate the plant.
5. Nutrient Deficiency
- Uniform yellowing, stunted growth.
Fix: Apply a balanced fertilizer during the growing season.
Repotting Alocasia Black Velvet: When & How
Even queens need new quarters. Repotting is essential to keep your plant thriving.
Signs It’s Time to Repot
- Roots poking out of drainage holes.
- Water runs through too quickly.
- Stunted growth or yellowing leaves.
Step-by-Step Repotting Guide
Importance of Repotting
Repotting an overgrown Alocasia Black Velvet plant is crucial for its well-being. When a plant becomes root-bound or overcrowded in its current pot, it can lead to stunted growth, yellowing leaves, and overall decline in health. By understanding the signs of overgrowth and learning how to properly repot these plants, you can ensure that your Alocasia Black Velvet thrives and continues to be a stunning addition to your indoor garden.
How to Repot an Overgrown Alocasia Black Velvet Plant
1. Introduction to Alocasia Black Velvet Plants
Overview of Alocasia Black Velvet Plants
If you’re a plant parent looking to add a touch of sophistication to your indoor jungle, the Alocasia Black Velvet is the plant for you. With its dark, velvety leaves and striking veins, this plant adds a touch of drama to any space.
Importance of Repotting
Repotting your Alocasia Black Velvet is like giving it a plant spa day. It helps prevent root-bound stress, encourages healthy growth, and gives you a chance to refresh its potting mix.
2. Signs of Overgrowth in Alocasia Black Velvet Plants
Yellowing or Drooping Leaves
When your Alocasia’s leaves start looking more sad than sophisticated, it could be a sign that it’s feeling cramped in its current home.
Roots Emerging from Drainage Holes
If your Alocasia’s roots are peeking out to say hello through the drainage holes, it’s time to give it a new pot to stretch its roots in.
3. Preparing for Repotting
Gathering Necessary Tools and Materials
Get your hands on a bigger pot, some fresh potting mix, and your favorite gardening gloves because it’s about to get dirty.
Choosing the Right Potting Mix
Your Alocasia Black Velvet deserves the VIP treatment, so opt for a well-draining mix to keep its roots happy.
4. Steps to Repotting an Overgrown Alocasia Black Velvet Plant
Assessing the Plant’s Condition
Take a good look at your plant and reassure it that you’ve got this under control.
Removing the Plant from its Current Pot
It’s time for the grand migration. Gently coax your Alocasia out of its old pot, roots and all.
Inspecting and Trimming the Roots
Give those roots a little trim if they look crowded or circling around like they’re lost.
Repotting the Plant
Finally, tuck your Alocasia Black Velvet into its new home, pat down the soil, and give it a good drink to celebrate a job well done!
Care Tips After Repotting
Placement and Light Requirements
After repotting your Alocasia Black Velvet plant, find a cozy spot for it with bright, indirect light. Think of it like giving your plant a sunny window seat without the sunburn. Alocasias don’t like direct sunlight, so keep them away from harsh rays that could scorch their delicate leaves.
Watering and Humidity Needs
When it comes to watering, be a plant whisperer, not a plant drowner. Allow the top inch of the soil to dry out before giving your Black Velvet a drink. These plants enjoy a humid environment, so misting their leaves every now and then will make them feel like they’re at a spa retreat.
Common Mistakes to Avoid During Repotting
Using the Wrong Pot Size
Don’t cramp your Alocasia’s style by stuffing it into a pot that’s too small. Give it room to spread its roots and grow by choosing a pot that’s just a little larger than its current one. Think of it as upgrading your plant to a spacious new apartment.
Not Allowing the Plant to Adjust
Plants need time to settle into their new digs, just like humans do. After repotting, resist the urge to constantly fuss over your Alocasia. Let it acclimate to its new home by giving it space and time to adjust. It’s like letting your plant have a housewarming party without you trying to micromanage the guest list.
Pro Tip: Repot during spring or summer—when the plant is actively growing.
Propagation: Growing a New Little Queen
Want more of this beauty? Alocasia Black Velvet is easy to propagate via division or rhizome cuttings.
Division
- Remove from the pot and separate offsets.
- Pot baby plants in moist, airy soil.
- Maintain high humidity until new growth appears.
Rhizome Cutting
- Cut healthy rhizome sections.
- Plant in sphagnum moss or soil.
- Mist daily and wait for sprouts.
Common Mistakes to Avoid
Using dense soil that holds too much water
Repotting in winter or when stressed
Fertilizing immediately after repotting
Placing it in drafts or near heaters
Creative Display Ideas for Alocasia Black Velvet
Turn your home into a tropical retreat with these design ideas:
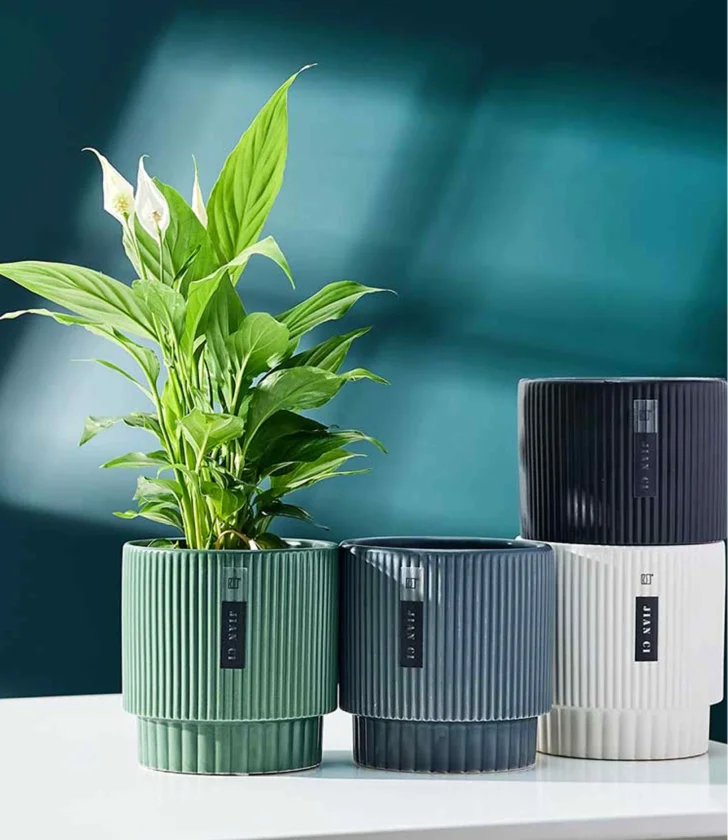
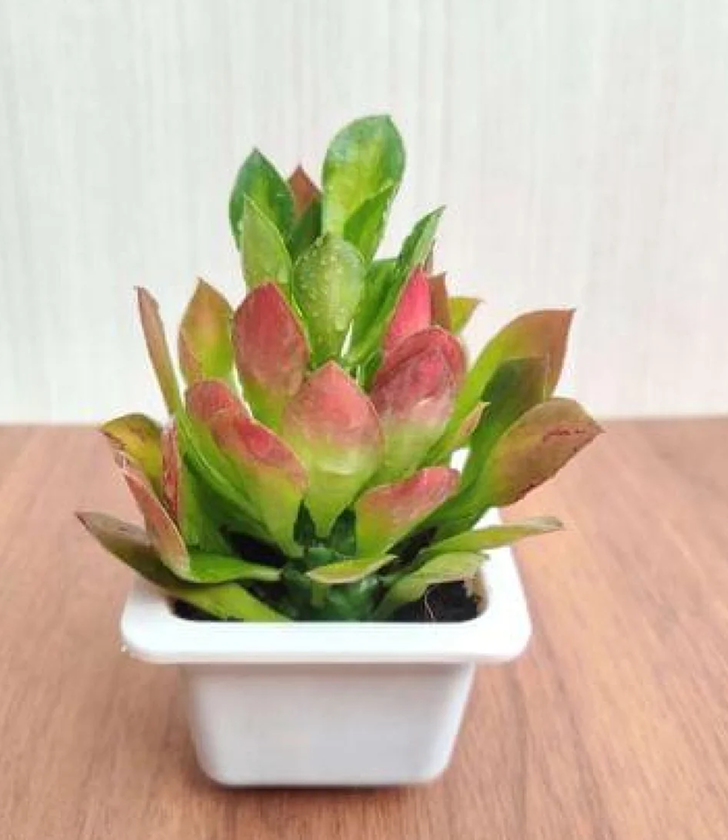
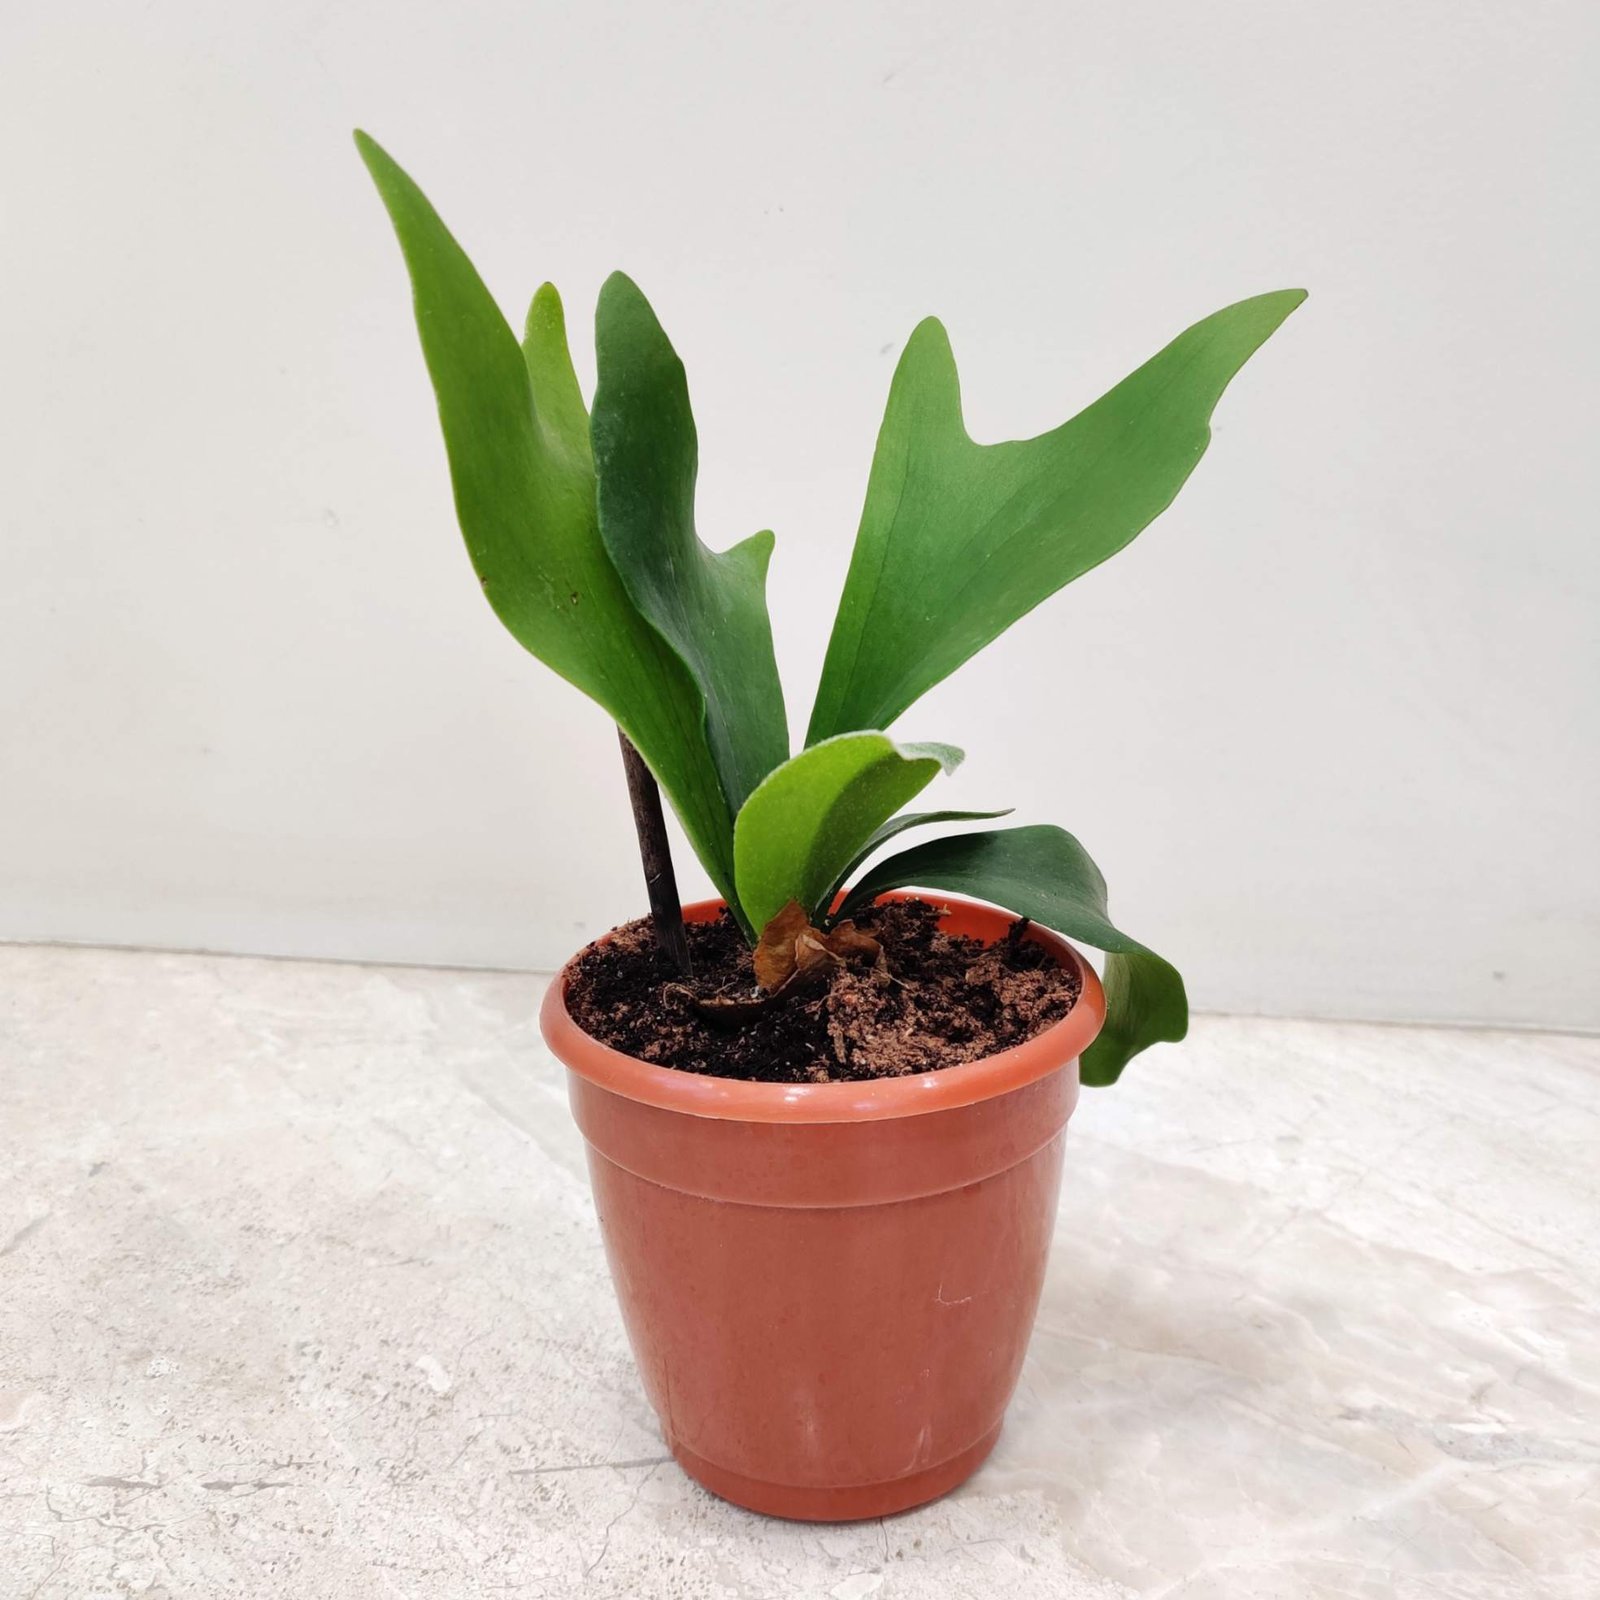
Use Stylish Pots
- Light-colored pots create a contrast with the dark foliage.
- Use ceramic, matte finish, or metallic pots for a luxe touch.
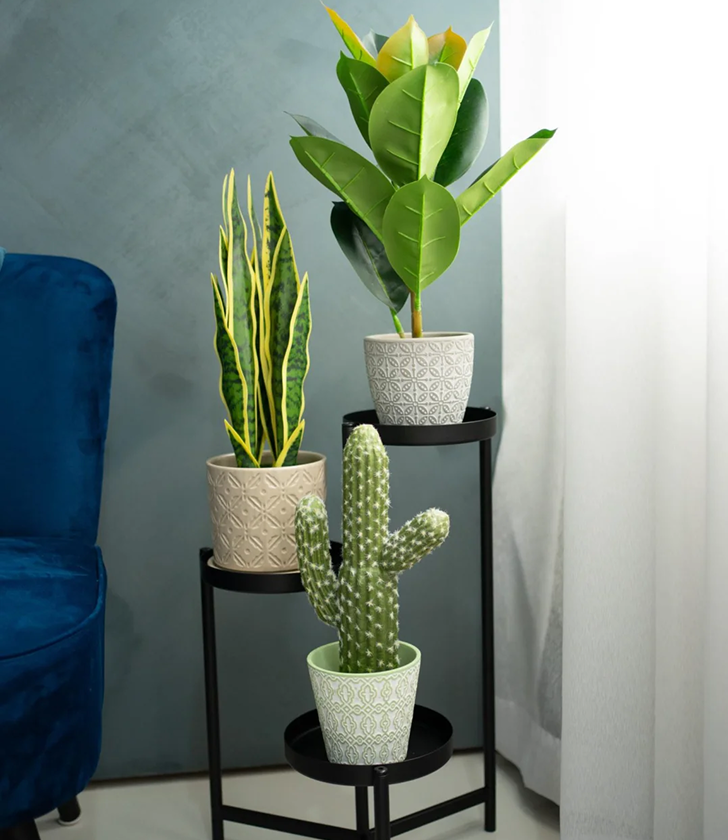
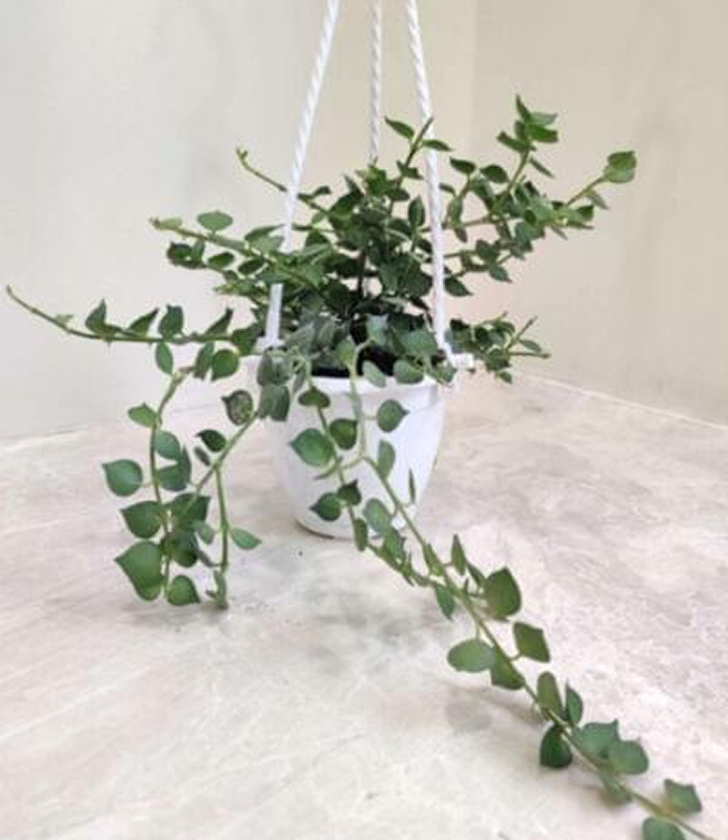
Vertical Displays & Plant Shelves
- Perfect for small spaces.
- Add trailing plants or air plants for texture.
Mix and Match
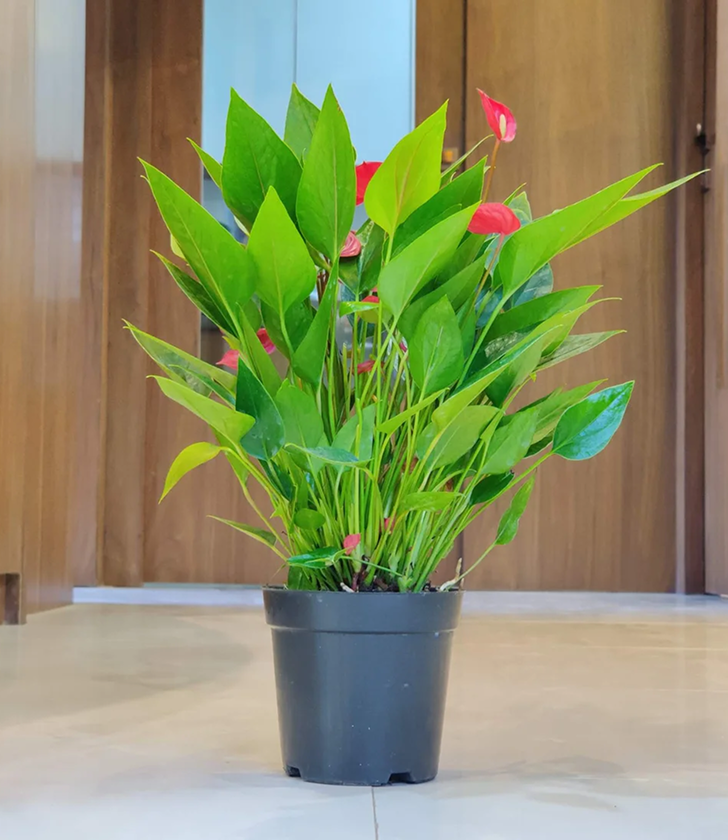
- Pair with Monstera, Philodendron, or ZZ plants for lush, layered arrangements.
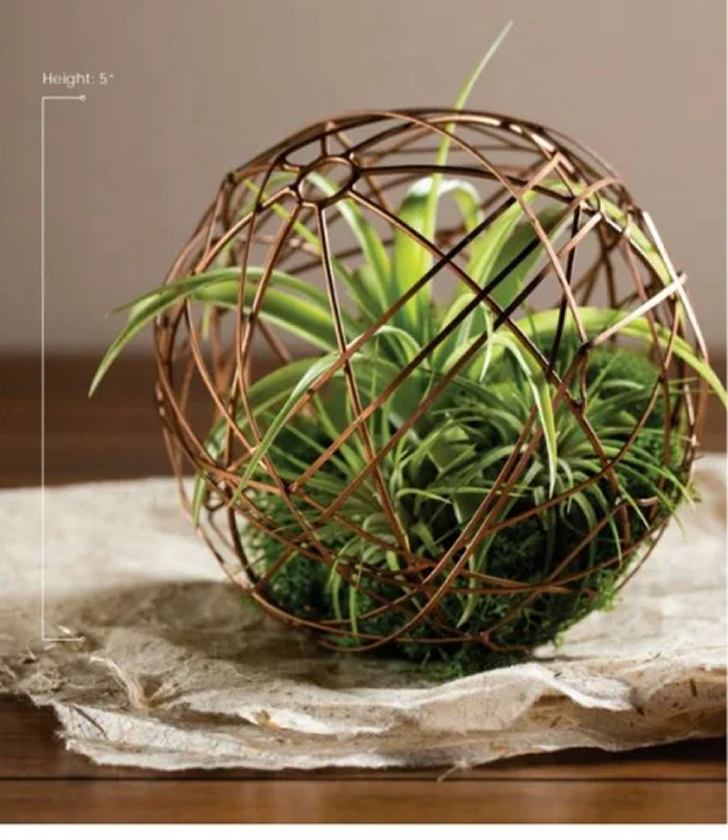
DIY Terrariums
- Showcase baby Alocasias in enclosed terrariums for high humidity and style.
If you’ve fallen in love with the striking beauty of Alocasia Black Velvet, you’ll be thrilled to know it’s just one of many in the Alocasia family. Explore our curated collection of Alocasia varieties, each offering unique leaf shapes, textures, and colors—perfect for expanding your tropical indoor plant collection.
Conclusion: Let the Little Queen Rule Your Indoor Jungle
The Alocasia Black Velvet isn’t just another houseplant—it’s a bold, beautiful statement of sophistication and botanical wonder. From its velvety texture and regal vibe to its air-purifying superpowers, it brings both form and function into your home. Follow our care guide, troubleshoot yellowing leaves with confidence, and show it off with creative display tips.
Whether you’re a seasoned plant parent or just starting your journey, the Alocasia Black Velvet deserves a prime spot in your plant kingdom.
FAQs
Q1: Why are the leaves turning yellow even though I water regularly?
A: Likely overwatering or poor drainage. Always check soil moisture before watering.
Q2: Can Alocasia Black Velvet survive in low light?
A: It tolerates low light but thrives in bright, indirect light.
Q3: How often should I repot?
A: Every 1–2 years or when the plant becomes root-bound.
Q4: Is it pet-safe?
A: No, it contains calcium oxalate crystals and is toxic if ingested. Keep away from pets and children.

Explore Our Stunning Alocasia Plant Collection – Handpicked for Your Indoor Jungle