If you’ve ever gazed at the lush, feathery fronds of a fern and wished you could have more of them without buying new plants, you’re in for a treat. Fern propagation is not only a rewarding gardening activity but also a fascinating journey into the ancient world of plant reproduction — one that has remained virtually unchanged for over 300 million years.
Whether you’re a beginner looking for a quick and easy way to get more ferns or a seasoned plant enthusiast eager to try the more intricate process of growing them from spores, this guide will walk you through everything you need to know. We’ll cover both the division method (fast and beginner-friendly) and the spore propagation method (slow but magical), plus aftercare, troubleshooting, and sustainable growing tips.
The Benefits of Growing and Propagating Ferns
Beyond their ancient charm and fascinating biology, ferns offer real, everyday advantages for your home and wellbeing. Whether you’re multiplying them through division or nurturing them from spores, here’s why you’ll want more of them around.
1. Natural Air Purifiers
Ferns are nature’s indoor detoxifiers. Species like the Boston Fern can filter out harmful toxins such as formaldehyde, toluene, and xylene, helping you breathe cleaner air and create a healthier indoor environment.
2. Low-Maintenance Greenery
They don’t demand complicated care routines — just indirect light, consistent moisture, and occasional pruning. Perfect for busy plant parents who still want lush greenery without the stress.
3. Humidity Boosters
Thanks to their high transpiration rates, ferns release moisture into the air, improving humidity levels for other houseplants and even hydrating your skin naturally.
4. Safe for Pets
Many popular ferns, including Boston Ferns, are non-toxic to cats and dogs — so you can enjoy greenery without worrying about curious paws.
5. Mood and Stress Reducers
The rich, layered fronds create a calming, nature-inspired environment. Simply seeing greenery in your space can help reduce stress and improve mental focus.
Propagating ferns isn’t just about multiplying plants — it’s about multiplying beauty, freshness, and joy in your home. Whether you want to purify your air, create a calming sanctuary, or style your space with lush greenery, there’s no better time to start.

Understanding Fern Biology: The Ancient Two-Stage Life Cycle
Unlike flowering plants that reproduce via seeds, ferns reproduce via spores — a method that predates even the dinosaurs.
The fern life cycle alternates between two distinct stages:
- Sporophyte Stage
- This is the leafy, frond-filled plant you’re familiar with.
- Produces spores on the underside of fronds in clusters called sori.
- Gametophyte Stage
- A tiny, heart-shaped structure called a prothallus.
- Produces male and female reproductive cells.
- Needs a moist environment for fertilization.
When conditions are just right — warmth, moisture, and shade — sperm swim through water to reach eggs, and a new sporophyte begins.
Fun fact: The fern life cycle has remained almost unchanged for over 300 million years, making these plants true living fossils.
Two Main Methods to Propagate Ferns
1. Division – The Fast and Easy Method
Division involves splitting a mature fern into two or more smaller plants. This method is perfect for beginners and produces identical clones of the parent plant.
Best Time to Divide Ferns
- Early spring — as new fronds are just emerging.
- Late summer — after the main growing season.
- Mild climates — fall division is possible, but avoid frosty periods.
What You’ll Need
- Sharp, clean pruning shears or a knife.
- Spading fork or small transplanting spade.
- Fresh, well-draining potting mix.
- Containers with drainage holes.
- Gloves for protection.
- Rubbing alcohol for sterilizing tools.
Step-by-Step Division Process
- Prepare the Plant — Water 2–3 days before dividing to reduce shock.
- Remove Dead Growth — Trim away yellow or damaged fronds.
- Identify Division Points — Look for natural separations between crowns or rhizome sections.
- Lift the Plant — Gently dig around the root ball or slide it out of the pot.
- Cut and Separate — Use a sterilized knife to split into sections, each with roots, fronds, and at least one growing crown.
- Replant — Place divisions in fresh soil at the same depth and water thoroughly.
- Aftercare — Keep evenly moist and in bright, indirect light until new growth appears.
Tip: Avoid direct sunlight during recovery — ferns prefer a gentle, filtered glow.
2. Spore Propagation – The Magical, Patient Gardener’s Method
Growing ferns from spores is like time-traveling into plant evolution. It’s slower (6–12 months) but produces hundreds of new plants and offers incredible insight into how these prehistoric plants reproduce.
Step 1: Collecting Spores
- Look for mature sori — plump and furry, often turning brown or yellow.
- Cut a frond with ripe sori and place it in a paper bag.
- After 1–2 weeks, spores will drop onto the paper.
Step 2: Prepare Your Growing Setup
You’ll need:
- Clear plastic containers with lids.
- Sterile growing medium (peat moss, vermiculite, or seed-starting mix).
- Spray bottle for misting.
- Bright, indirect light or grow lights.
- Optional: Heat mat for consistent warmth.
Step 3: Sterilize the Medium
- Moisten until sponge-like.
- Pour boiling water over it or microwave for 3–5 minutes to kill pathogens.
- Let cool before sowing.
Step 4: Sowing Spores
- Sprinkle spores thinly over the surface — do not bury them.
- Cover to maintain humidity.
Step 5: Watch for the Green Film
- In 2–6 weeks, you’ll see a fine green layer — the gametophyte stage.
- Over the next months, these will develop into heart-shaped prothalli.
Step 6: Fertilization
- Mist heavily to create standing water, allowing sperm to swim to eggs.
- Repeat as needed.
Step 7: Sporophyte Development
- Tiny ferns appear within weeks after fertilization.
- Thin seedlings to about 3 inches apart.
Step 8: Hardening Off
- Gradually open lids to acclimate young ferns to lower humidity over 2 weeks.
Step 9: Transplanting
- When plants are 4–6 inches tall, pot individually.
Choosing Your Method
| Factor | Division | Spore Propagation |
|---|---|---|
| Time to Maturity | 4–8 weeks | 6–12 months |
| Plants Produced | 2–6 | Hundreds |
| Skill Level | Beginner | Intermediate+ |
| Equipment Needed | Minimal | Specialized |
| Genetic Diversity | Clones | Diverse offspring |
Aftercare for Propagated Ferns – How to Keep Your New Ferns Thriving
Successfully propagating a fern is only half the journey — the real magic happens when you nurture your young plants into full, lush greenery. Proper fern aftercare ensures they develop strong roots, vibrant fronds, and the resilience to thrive for years. Here’s how to give your newly propagated ferns the best start in life:
1. Watering – Keep the Soil Consistently Moist
Ferns are naturally found in damp, shaded forest floors, so they love evenly moist soil.
- When to Water: Check the top inch of soil — if it feels slightly dry, it’s time to water.
- How to Water: Use room-temperature, filtered, or rainwater for best results, as tap water with high chlorine can damage delicate roots.
- Avoid Overwatering: While ferns enjoy moisture, waterlogged soil can cause root rot. Ensure pots have drainage holes to prevent excess water buildup.
- Pro Tip: In drier climates, place the pot on a humidity tray filled with pebbles and water to maintain consistent soil moisture.
2. Light – Bright but Indirect
Young ferns are sensitive to strong light, which can scorch their fronds.
- Ideal Lighting: Place your propagated fern in bright, indirect light near an east- or north-facing window.
- Avoid Harsh Sun: Direct midday sunlight can cause brown leaf tips and stress the plant.
- Indoor Lighting Option: If natural light is limited, use full-spectrum grow lights for 12–14 hours a day to mimic their natural environment.
3. Humidity – Keep the Air Moist
Ferns are humidity-loving plants and thrive best in environments with 50–60% humidity or higher.
- Best Locations: Bathrooms, kitchens, or near a humidifier.
- Misting: Lightly mist the fronds 2–3 times a week to maintain leaf hydration.
- Humidity Boosters: Group ferns with other indoor plants to create a naturally more humid microclimate.
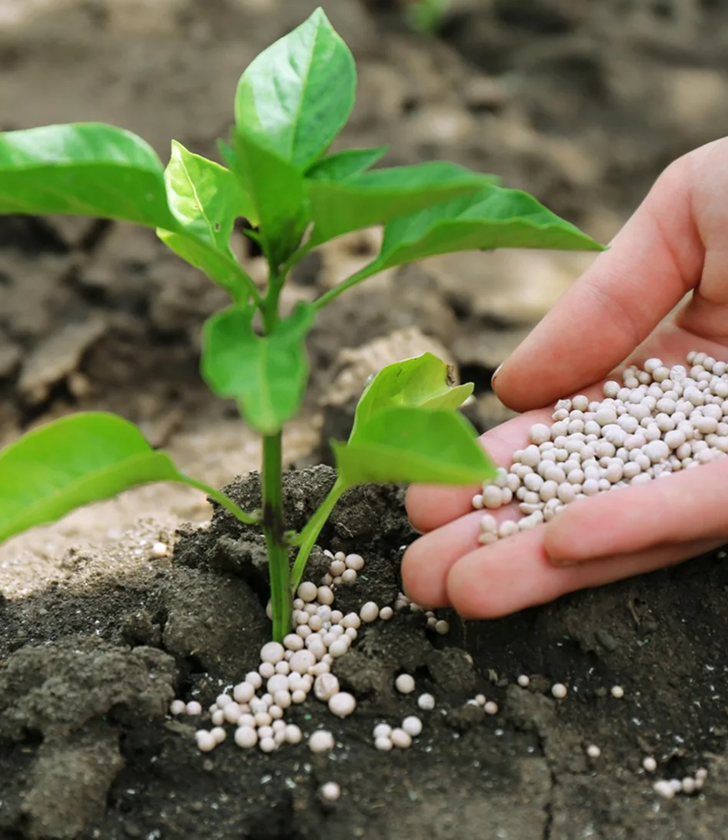
4. Fertilizing – Feed for Strong Growth
Newly propagated ferns benefit from gentle feeding to encourage lush green foliage and healthy roots.
- When to Start: Wait 4–6 weeks after propagation before fertilizing — this allows the plant to establish.
- Type of Fertilizer: Use a balanced, water-soluble liquid fertilizer (like 20-20-20) at half-strength.
- Frequency: Feed every 2–3 weeks during the growing season (spring and summer).
- Avoid Overfeeding: Too much fertilizer can cause fertilizer burn, leading to yellow or brown leaf tips.
By combining the right balance of moisture, light, humidity, and nutrients, your propagated ferns will flourish — producing healthy, arching fronds that add a timeless, tropical charm to your indoor garden.
Troubleshooting Common Problems
- Brown fronds — Low humidity or too much sun. Move to a shadier spot and mist more often.
- Yellowing leaves — Overwatering or nutrient deficiency. Adjust watering and feed lightly.
- Slow growth — Low light or cool temperatures. Increase light levels and keep between 18–24°C.
- Pests — Spider mites, mealybugs, or aphids. Wipe leaves with soapy water or use insecticidal soap.
Sustainability Tips
- Propagate from your own plants to reduce demand for wild-harvested ferns.
- Never collect from endangered species.
- Share your propagated plants with friends or local plant swaps.
Styling Inspiration: How to Use Ferns in Your Space
Propagating ferns means you’ll have extras to play with — and that opens up endless styling possibilities. Here’s how to showcase your growing collection in style:
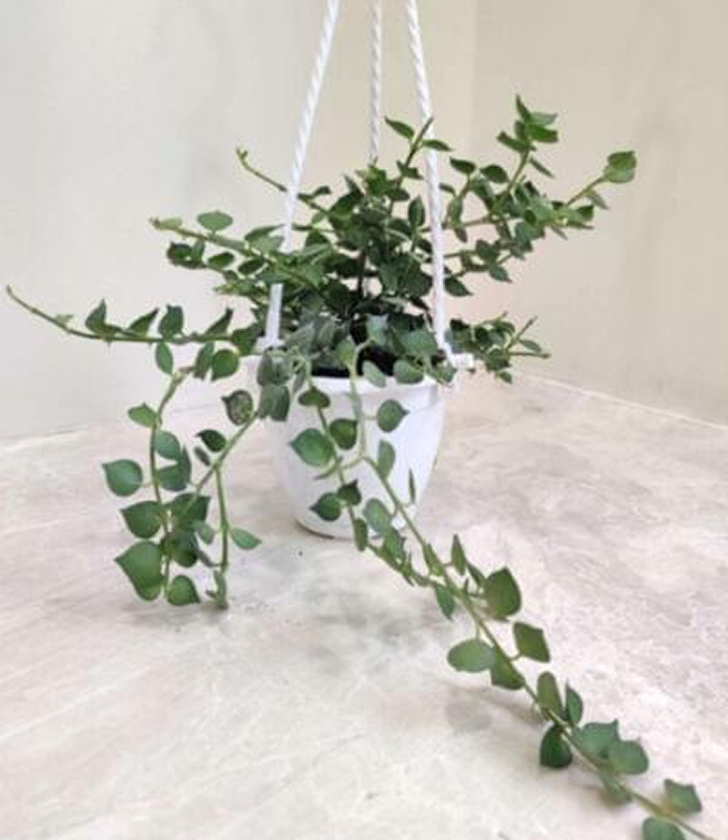
- Hanging Baskets – Let trailing fern varieties spill over macramé hangers for a laid-back, boho-chic look.
- Table Centerpieces – Compact ferns in decorative ceramic pots can instantly freshen up a dining table or office desk.
- Vertical Gardens – Use wall-mounted frames or shelves to create a lush, vertical fern display — a dramatic statement piece for living rooms or patios.
- Bathroom Retreats – Humidity-loving ferns thrive in steamy bathrooms, transforming them into spa-like sanctuaries.
- Grouped Arrangements – Combine different fern species for layered textures and shades of green in shaded corners.
Pro Tip: Ferns are design chameleons — they fit effortlessly into modern minimalism, rustic charm, tropical escapes, or classic English garden vibes.
Best Ferns for Beginners
- For Division: Boston Fern, Lady Fern, Sword Fern.
- For Spores: Maidenhair Fern, Royal Fern.
Final Thoughts
Whether you choose the quick satisfaction of division or the slow, awe-inspiring journey of spore propagation, fern propagation is a deeply rewarding skill. It connects you with one of Earth’s oldest plant lineages and fills your home or garden with graceful greenery. With patience, the right tools, and proper care, you can multiply your fern collection and share the beauty of these ancient wonders with others.
FAQs
1: How long does it take to grow a fern from spores?
Typically 6–12 months from sowing to a transplant-ready plant.
2: Can I propagate all fern species by division?
No — some ferns only grow from a single crown and are better suited for spore propagation.
3: What’s the easiest fern to propagate for beginners?
Boston Fern is one of the easiest and most forgiving for division.
4: Do ferns need special soil for propagation?
Yes — use a well-draining, peat-rich mix to keep roots moist but not waterlogged.
5: Can I grow ferns from spores indoors year-round?
Yes, if you can provide consistent warmth, humidity, and indirect light.

Ready to Grow Your Own Lush Fern Collection?
Start propagating today and watch your indoor garden transform. Whether you’re dividing a mature plant or experimenting with spores, the possibilities are endless.
Shop our stunning fern varieties now
And give your home a fresh burst of green beauty!