Cacti are among the most specialized plants on Earth, adapted to extreme climates with a sophisticated survival strategy. Their thickened stems store water, their spines reduce evaporation and deter predators, and their shallow, wide root systems absorb every drop of moisture after rare rains. When cultivated in containers, however, these adaptations face unique challenges.
Over time, potting media compacts, reducing aeration and drainage. Essential minerals leach out with watering, and roots can become pot-bound, restricting growth and nutrient uptake. Without intervention, these conditions can weaken even the hardiest cactus.
Repotting is a vital part of long-term cactus care, ensuring healthy root systems, replenished soil nutrients, and optimal moisture balance. In this guide, we’ll cover the horticultural science behind repotting, the correct tools and techniques, ideal seasonal timing, and best practices for aftercare — giving you a research-backed approach to keeping your cacti vigorous and disease-free.
Health Benefits of Keeping Indoor Cacti
- Improved Air Quality: Certain cacti release oxygen and absorb pollutants.
- Stress Reduction: Studies link indoor plants with lower anxiety levels.
- Productivity Boost: Greenery in workspaces can improve focus.
- Aesthetic Appeal: Adds texture and interest to any room décor.
Why Repotting Cacti Matters
Cacti may be slow growers, but they’re not completely maintenance-free. Over time, even the toughest desert plants can run into problems if left in the same container for too long. When grown indoors or in pots, cacti rely entirely on the soil and environment you provide. This means that fresh, well-draining soil and a suitably sized pot are essential for their long-term health.
Here’s why repotting matters so much:
Aesthetic Upgrade: A new pot can complement your home décor while giving your cactus a fresh start.
Nutrient Replenishment: Old potting mix gradually loses essential minerals and trace elements, leaving your cactus undernourished.
Improved Drainage: Compacted soil holds excess water, which can suffocate roots and lead to root rot — one of the most common cactus killers.
Room to Grow: A root-bound cactus can’t spread its roots, which limits growth and reduces water and nutrient absorption.
Pest & Disease Prevention: Fresh soil and a clean pot reduce the risk of fungus gnats, mealybugs, and soil-borne diseases.
Signs Your Cactus Needs Repotting
Unlike some plants, cacti won’t scream for attention — they’re masters of patience. But there are telltale signs that repotting is overdue:
- Roots Peeking Out of Drainage Holes – A clear sign your cactus has outgrown its pot and needs more space.
- Stunted or No Growth – If your cactus hasn’t grown in over a year during its active season, the roots might be cramped or the soil exhausted.
- Poor Drainage – Water pooling on the surface or taking too long to soak in means the soil has compacted.
- Top-Heavy or Leaning – As the cactus grows taller or wider, the pot may no longer be stable.
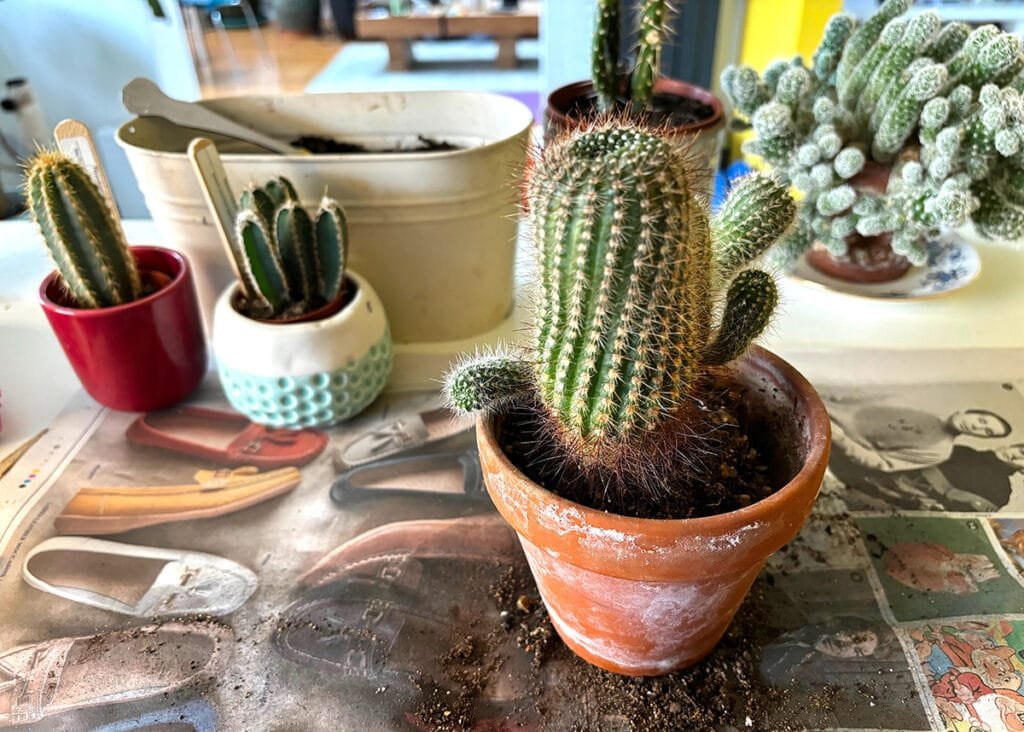
- White Crust on Soil Surface – Mineral buildup from hard water or old fertilizer is a sign the soil needs replacing.
When Is the Best Time to Repot a Cactus?
Timing is crucial for a smooth transition. The best time to repot is late winter to early spring, just before the growing season begins. This ensures the plant can quickly develop new roots in fresh soil.
Avoid repotting:
- During winter dormancy (your cactus will be resting, not growing)
- While the plant is in bloom (this can cause stress and shorten the flowering period)
Choosing the Right Pot
Your pot choice affects not only the plant’s health but also your overall interior style.
- Size: Pick a pot that’s only 1–2 inches wider than the current one. Too large, and the soil will retain excess water; too small, and roots will become cramped again quickly.
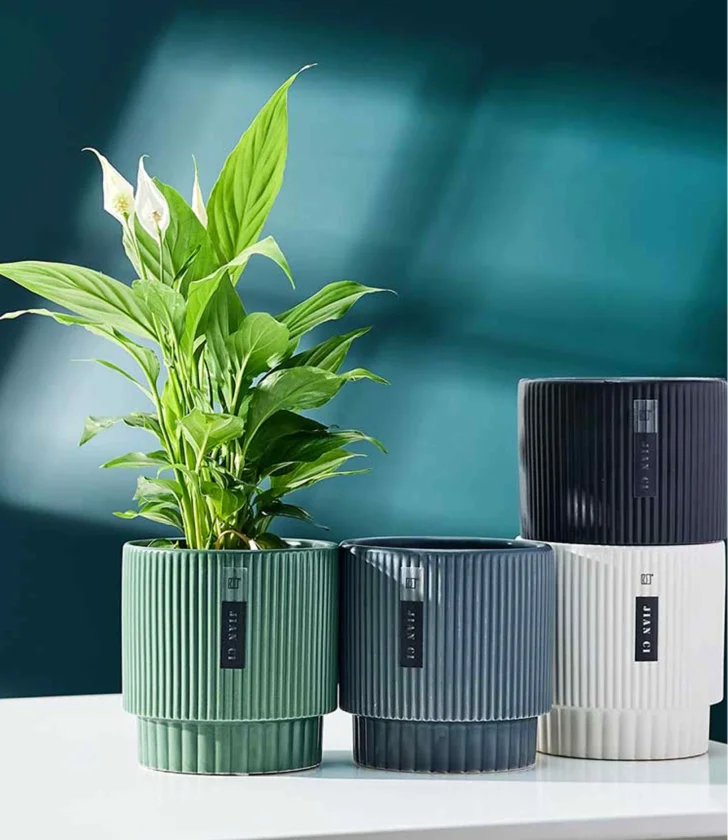
- Material: Terra cotta pots are breathable and help prevent overwatering. Ceramic pots are stylish and versatile, but always ensure they have drainage holes.
- Shape: Shallow, wide pots suit cluster-forming cacti; deeper pots are better for tall, columnar species.
- Drainage: This is non-negotiable — no drainage holes means waterlogged roots.
Preparing the Ideal Cactus Soil Mix
Healthy cacti thrive in soil that drains quickly yet retains just enough moisture for roots to absorb. You can use a store-bought cactus mix or make your own for better control.
DIY Cactus Mix Recipe:
- 2 parts potting soil (without added moisture-retaining agents)
- 1 part coarse sand or perlite (for drainage)
- 1 part grit, pumice, or small pebbles (for aeration)
- (Optional) Add a handful of horticultural charcoal to improve soil freshness and resist fungal growth.
Tools You’ll Need for Safe Repotting
- Thick gardening gloves or folded newspaper for safe handling
- Tongs for small adjustments
- Fresh cactus soil mix
- A new pot with drainage holes
- A small brush to clean spines after repotting
Step-by-Step Guide to Repotting a Cactus
Repotting a cactus may look intimidating, but with the right approach, you can do it safely without damaging the plant or yourself. Follow these steps to ensure a smooth transition for your spiky friend.
1. Prepare Your Work Area
Before you start, choose a clean, well-lit workspace — preferably outdoors or in a space where spilled soil won’t cause trouble. Cover your surface with newspaper, a drop cloth, or a gardening mat to catch soil and spines. Arrange all tools, the new pot, and your fresh cactus potting mix within easy reach.
2. Remove the Cactus Safely
Cactus spines can cause injury and damage the plant if handled roughly. Wear thick gardening gloves or wrap the cactus in several layers of folded newspaper, cardboard strips, or even foam padding for extra grip. Tilt the pot at an angle and gently tap the sides to loosen the root ball. If needed, run a blunt knife around the pot’s inner edge to release stubborn roots. Avoid pulling the plant by force, as this can break roots or stems.
3. Inspect and Clean the Roots
Once removed, carefully examine the root system. Healthy roots should be white or light tan. If you notice blackened, mushy, or dried roots, trim them off with sterilized scissors or pruning shears to prevent disease. Allow the plant to rest in a dry, shaded location for 12–24 hours so that any cuts can callous over, reducing the risk of rot once replanted.
4. Prepare the New Pot
Select a pot that’s 1–2 inches wider than the previous one and has proper drainage holes. Add a base layer of well-draining cactus soil mix — either a store-bought blend or a DIY mix made of potting soil, coarse sand, and pumice. Shape the soil into a slight mound in the center to help the roots spread downward and outward.
5. Position the Cactus
Gently place the cactus on the soil mound, ensuring the root collar (where the stem meets the roots) sits just above the soil surface to prevent rot. Carefully backfill around the roots with more cactus mix, firming it lightly with your fingers or a spoon. Avoid burying the stem deeper than before, as this can trap moisture and cause stem rot.
6. Post-Repotting Recovery
Repotting can cause mild transplant shock in cacti, so give your plant time to adjust before resuming regular care. Do not water immediately — wait 5–7 days so root wounds can heal. After the waiting period, water lightly, ensuring excess moisture drains away. Place the cactus in bright, indirect sunlight (or filtered outdoor light) for 1–2 weeks before returning it to its usual spot.
Extra Tips for a Stress-Free Cactus Repotting
For indoor cactus arrangements, repotting is also a great time to refresh top dressing with decorative pebbles or sand for a polished look.
Repot during late winter or early spring for the best root development.
If working with tall or heavy cacti, have a second person assist to avoid tipping.
Post-Repotting Care Tips
- Watering: Only water when the soil is completely dry.
- Light: Provide bright, indirect light indoors, or filtered sunlight outdoors.
- Fertilizer: Use diluted cactus fertilizer every 4–6 weeks during the growing season.
General Recovery Tips for Repotted Cacti
- Keep the plant away from cold drafts and sudden temperature changes.
- Avoid moving or rotating the pot too often — stability helps roots establish faster.
- Use a moisture meter if you’re unsure when to water.
- Monitor for early signs of transplant shock, such as yellowing or wrinkling.
Healthy Plants Start with the Right Essentials
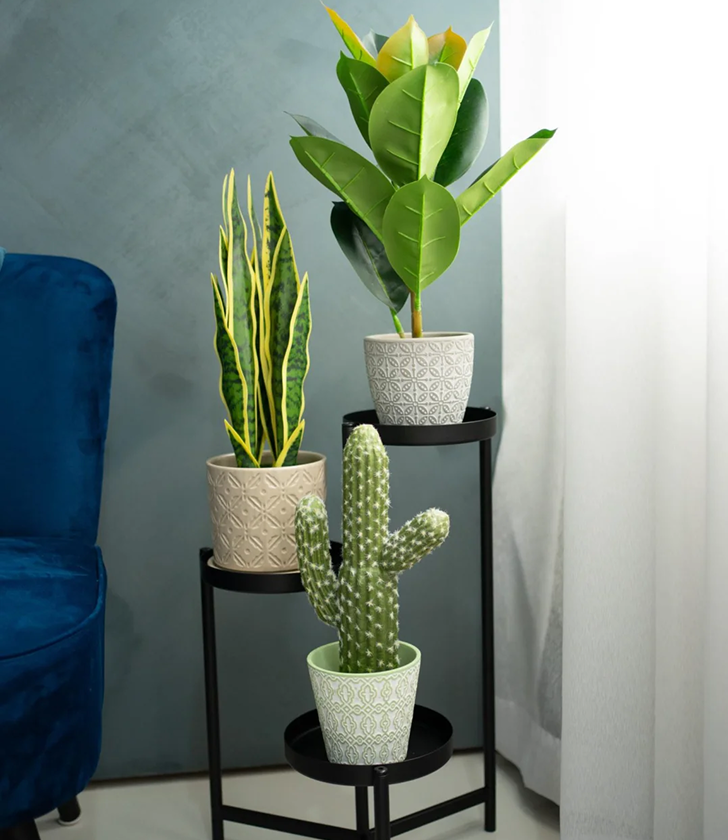
Creative Styling Ideas for Indoor Cacti
- Minimalist displays with white ceramic planters for a clean look
- Desert landscape arrangements with different cactus species in one shallow pot
- Wall-mounted planters for compact spaces
- Open glass terrariums (ideal for spineless cacti)
- Decorative top dressing with pebbles, sand, or moss
Common Repotting Problems & Solutions
| Problem | Cause | Solution |
|---|---|---|
| Root rot | Overwatering/poor drainage | Remove damaged roots, repot in fresh mix |
| Drooping cactus | Transplant shock | Shade temporarily, avoid watering for a week |
| Yellowing | Nutrient deficiency | Fertilize during growing season |
| Shriveling | Underwatering or damaged roots | Inspect roots, adjust watering schedule |
Expanding Your Cactus Collection
One of the most exciting parts of owning cacti is how easy they are to multiply. Whether you want to create a larger indoor cactus display, share plants with friends, or start a small home nursery, cactus propagation is a fun and rewarding process. Best of all, you don’t need expensive equipment — just patience and the right technique.
1. Propagating Cactus from Offsets (Pups)
Many cacti, especially clustering species like Echinopsis, Mammillaria, and Parodia, produce small baby plants called offsets (also known as pups) around their base. These are essentially miniature versions of the parent cactus and can grow into full plants with minimal effort.
Step-by-step method:
- Wait until the pup is at least one-third the size of the mother plant.
- Using a clean, sharp knife or tongs, gently detach the offset from the main stem.
- Allow the cut surface to callous over for 2–5 days in a shaded, dry location — this prevents rot.
- Plant the pup in dry, well-draining cactus soil mix and wait a week before the first light watering.
2. Propagating Cactus from Stem Cuttings
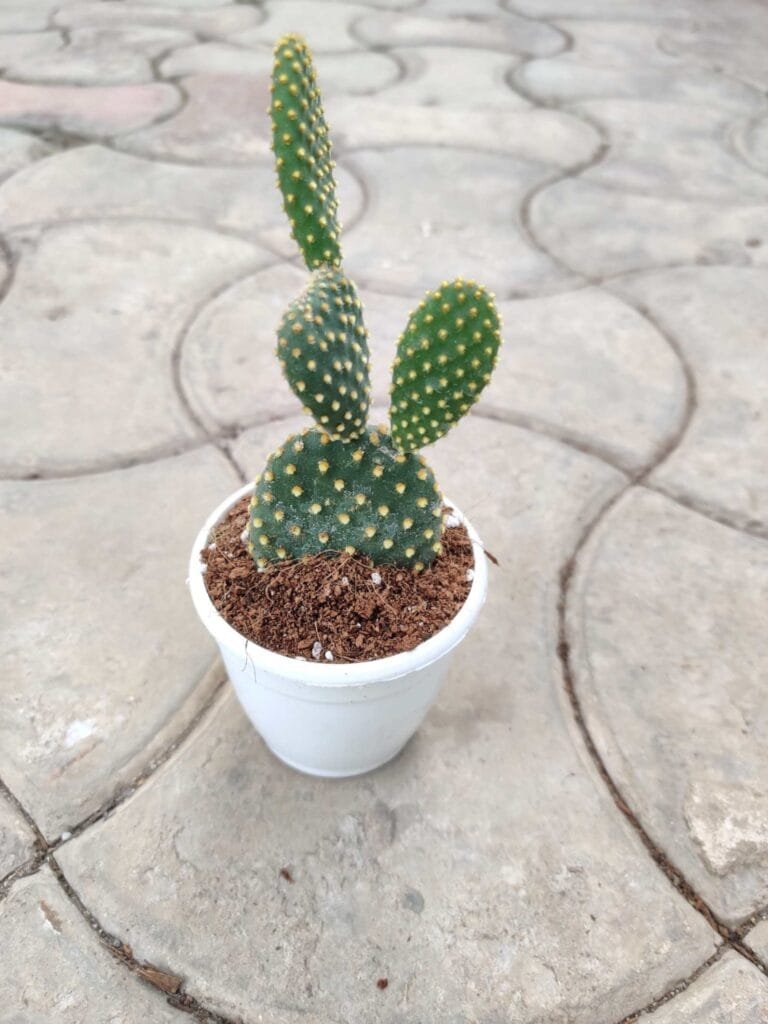
Stem cutting propagation works well for columnar or branching cacti like Opuntia (Prickly Pear), Cereus, and Trichocereus. This method is perfect if you want to clone your favorite cactus variety or rescue a damaged plant.
Step-by-step method:
- Select a healthy, disease-free stem segment.
- Cut cleanly using sterilized pruning shears or a sharp knife.
- Place the cutting in a dry, airy location for 7–10 days to let the wound heal and form a protective callous.
- Insert the calloused end into a cactus propagation soil mix (50% coarse sand, 30% pumice or perlite, 20% potting soil).
- Water sparingly after 5–7 days to encourage root formation.
Final Thoughts
Repotting a cactus isn’t just about giving it a new pot — it’s about renewing its environment, boosting its health, and helping it thrive for years to come. By understanding when to repot, choosing the right soil and container, and following safe handling techniques, you ensure your cactus stays vibrant, resilient, and beautiful.
Whether you’re moving a small desk cactus into a fresh pot or upgrading a large, columnar beauty, the process is an opportunity to reconnect with your plant, check its root health, and give it the conditions it needs to flourish. And once you master repotting, you’ll find cactus care less intimidating and far more rewarding.
Remember — the key to success is patience and preparation. Handle your cactus gently, let roots heal before watering, and place it in the right light to recover. With these steps, your cactus will not only survive the move but will also reward you with steady growth, strong spines, and lasting beauty in your home or garden.
So, gather your gloves, soil, and pot — and give your cactus the fresh start it deserves.
FAQs
1: How often should I repot my cactus?
Every 2–3 years, or when it becomes root-bound.
2: Can I repot a cactus while it’s flowering?
It’s best to wait until after flowering to avoid stressing the plant.
3: What’s the safest way to handle a spiny cactus?
Use thick gloves, folded newspaper, or kitchen tongs.
4: Should I water my cactus immediately after repotting?
No — wait 5–7 days before watering to allow root wounds to heal.
5: Can I use regular potting soil for cactus?
Not recommended — it retains too much moisture. Always use a cactus mix.

Ready to Give Your Cactus a Fresh Start?
Repotting is just the beginning — keep your cactus thriving with the right pot, fresh soil, and must-have plant care tools. Whether you’re expanding your collection or upgrading your favorite succulent’s home, we’ve got everything you need.