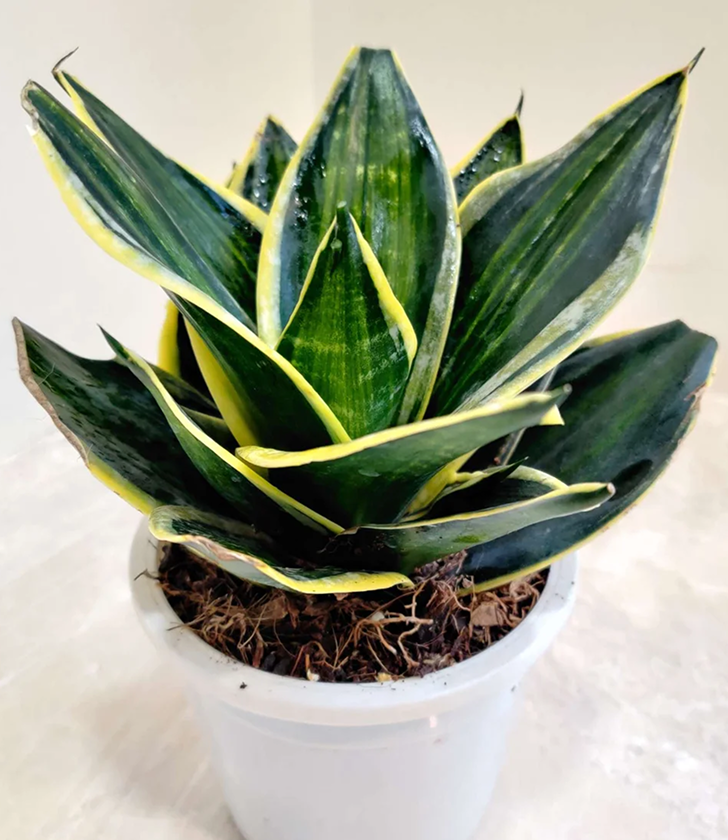
Snake plants (Dracaena trifasciata), also known as mother-in-law’s tongue, are among the most popular indoor plants—and for good reason. These hardy, upright houseplants are low maintenance, stylish, and help purify the air in your home. But even the toughest houseplants need repotting eventually to stay healthy and grow strong.
In this detailed guide, we’ll walk you through how to repot a snake plant, when to do it, the best soil for snake plants, and how to care for your plant after the move. Whether you’re looking to divide your plant, upgrade its container, or improve drainage, this blog is the ultimate indoor plant care resource.
Why and When Should You Repot a Snake Plant?
Snake plants, also known as Sansevieria or Dracaena trifasciata, are among the most resilient indoor houseplants. They require very little maintenance and thrive even in low-light conditions. However, like all living plants, they eventually outgrow their containers and need to be repotted to continue growing healthily. Repotting a snake plant isn’t just about giving it more space—it’s about rejuvenating its root system and providing it with fresh, nutrient-rich soil that promotes long-term health.
Why Repotting a Snake Plant Is Important
Understanding the benefits of repotting your snake plant will help you stay proactive in your houseplant care routine:
- Encourages Root Development: When roots are cramped, they can become root-bound, wrapping around themselves and restricting nutrient intake. A larger pot allows roots to expand and breathe.
- Prevents Root Rot and Overwatering Issues: Old, compacted soil retains moisture and creates a high risk of fungal infections and root rot. Fresh, well-draining soil ensures that excess water drains away efficiently—crucial for this succulent-style plant.
- Refreshes Nutrients: Over time, soil loses its nutritional value. Repotting replenishes the essential nutrients that snake plants need to thrive indoors.
- Promotes Overall Plant Health: Repotted snake plants often grow new shoots (pups), stand taller, and produce vibrant green leaves. This makes them ideal as decorative and air-purifying indoor plants.
Common Signs Your Snake Plant Needs Repotting
Wondering when to repot your snake plant indoors? Look out for these visible signs that indicate it’s time to act:
- Roots are growing out of the drainage holes – This is a clear sign the roots need more space.
- Pot is bulging or cracked – Plastic pots often start to split when the plant becomes root-bound.
- The plant feels top-heavy and tips over easily – An unstable snake plant is a warning that it has outgrown its current container.
- Water drains too quickly through the pot – This could mean the soil has broken down and can no longer retain moisture effectively.
- Crowded foliage or multiple new pups appearing – Overcrowded leaves or baby plants around the base signal it’s time to divide or move to a larger pot.
- Stunted growth – If your plant isn’t growing during the warm season even with proper care, the root system may be too confined.
These issues, if ignored, can lead to long-term damage, including stunted growth, yellowing leaves, and eventually root rot. Repotting your snake plant at the right time helps avoid these risks and boosts its longevity as a stylish and low-maintenance indoor plant.
When Is the Best Time to Repot a Snake Plant?
Timing matters when it comes to repotting houseplants like snake plants. The best season to repot is late winter to early spring, just before the plant enters its active growing phase. Here’s why:
- Prepares the plant for the growing season: New roots can establish themselves quickly in the warm months ahead.
- Minimizes transplant shock: The plant is naturally gearing up for growth, making it more resilient to changes.
- Enhances leaf and root development: With fresh soil and space, the plant can flourish without stress.
However, if your snake plant shows signs of stress—such as root rot, overcrowded roots, or stagnant growth—you don’t have to wait for spring. You can repot a snake plant at any time of year, as long as you provide it with proper post-repotting care.
Is Winter a Bad Time to Repot Snake Plants?
While winter isn’t ideal due to slower plant metabolism, emergency repotting during winter is acceptable if your snake plant is deteriorating. Just ensure it’s kept in a warm, well-lit spot and avoid overwatering during its dormant stage.
Bonus Tips for Timing Your Snake Plant Repotting:
- Use the beginning of the growing season as a calendar reminder to check all your indoor plants.
- Combine repotting with propagation—especially if pups have formed. It’s a great way to expand your indoor garden naturally.
- After repotting, monitor your plant weekly for signs of stress or shock and adjust your light and watering routine accordingly.
How to Repot a Snake Plant Indoors: Step-by-Step Guide for Healthy Houseplants
Whether you’re a beginner plant parent or a seasoned indoor gardener, learning how to repot a snake plant correctly is essential to keeping this resilient houseplant thriving. Snake plants are known for their ability to adapt to various environments, but even these hardy houseplants need a fresh start once in a while.
This easy, step-by-step guide to repotting a snake plant will walk you through everything—from choosing the right tools to preparing the perfect soil mix—ensuring a smooth and successful transition for your plant.
Step 1: Gather Your Tools and Materials
Before repotting your snake plant, it’s important to have everything ready. Having the right tools makes the process faster and prevents unnecessary stress for your plant.
Essential Repotting Supplies:
- A new plant pot that is 1–2 inches wider in diameter than the old one
Make sure it has drainage holes to prevent waterlogging. - Well-draining potting soil for snake plants
You can use a pre-mixed succulent or cactus mix or make your own (details in Step 4). - Clean, sharp pruning shears or knife
Ideal for trimming dead or rotten roots. - Trowel or small shovel
Helps lift the root ball and add soil around the sides. - Gardening gloves (optional but helpful)
Snake plant leaves can be sharp, so gloves help protect your hands.
Pro Tip: Choose a wide, shallow pot instead of a deep one. Snake plants are top-heavy, and wider pots offer better stability for these tall, vertical-growing houseplants.
Step 2: Carefully Remove the Snake Plant from Its Pot
Removing a snake plant the right way is crucial to avoid damaging its roots or leaves. Here’s how to do it without harming the plant:
- Lay the pot on its side on a clean surface or a newspaper-covered floor.
- Hold the plant at the base and gently wiggle it loose. Avoid pulling hard on the leaves.
- If it’s stuck, use a trowel to loosen the soil around the edges or gently tap the pot’s sides.
- For stubborn plastic containers, you may need to cut the pot open to release the plant safely.
- Once out, shake off the old soil from the roots to prepare for inspection.
This step is important because compacted or depleted soil can restrict root growth and hold too much moisture—leading to common issues like root rot in snake plants.
Step 3: Inspect and Prune the Roots
Healthy roots mean a healthy plant. After removing your snake plant, carefully inspect the root system:
What to Look For:
- Healthy roots: Firm, light tan or white in color, no odor
- Rotten roots: Mushy, dark brown or black, foul-smelling
- Root-bound roots: Tightly circling the base of the plant
If the roots are tangled or wrapped around each other, it means your plant has outgrown its pot. Use clean pruning shears to:
- Trim off any mushy or blackened roots
- Make a few vertical cuts in circling roots to encourage outward growth
Removing damaged roots ensures your snake plant absorbs nutrients efficiently in its new soil. This also reduces the risk of diseases spreading through the root system after transplanting.
Step 4: Choose the Best Soil Mix for Snake Plants
One of the most important parts of repotting any houseplant is using the right soil mix. Snake plants prefer a fast-draining, sandy mix because they are naturally drought-tolerant and sensitive to overwatering.
Best Potting Mix for Snake Plants:
- Commercial succulent or cactus potting mix (widely available and effective)
- DIY Snake Plant Soil Recipe:
- 1 part garden soil (for structure)
- 1 part coconut coir or peat moss (for moisture retention)
- 2 parts perlite, pumice, or coarse sand (for excellent drainage)
Avoid heavy potting soils or moisture-retaining mixes, which can lead to soggy conditions and root rot.
Bonus Tip: Add a layer of small stones or broken terracotta shards at the base of your pot to improve drainage—especially helpful for snake plants in ceramic planters.
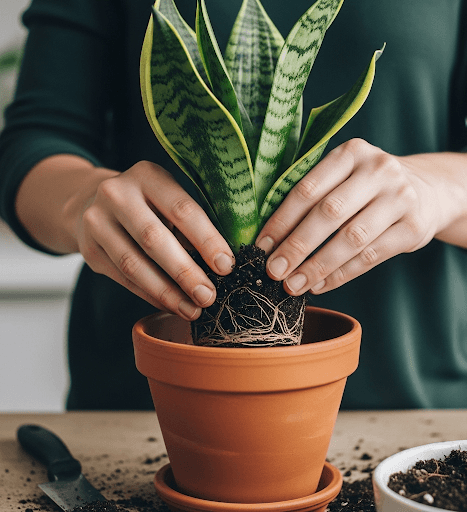
Step 5: Replant Your Snake Plant in the New Pot
Now that your plant and pot are ready, it’s time to repot your snake plant properly:
- Add a base layer of fresh potting soil into the new pot.
- Position the snake plant upright, making sure the top of the root ball is about 1–2 inches below the rim of the pot.
- Fill in the sides with more potting mix, gently pressing around the roots to eliminate air pockets.
- Avoid compacting the soil too tightly—it should remain light and aerated to support drainage.
- Water the plant thoroughly until excess water drains from the bottom.
Let the pot sit and drain completely. If the soil settles, top it off.
Congratulations! You’ve successfully repotted your snake plant.
Post-Repotting Care Tips
Repotting is a form of stress for any plant, even a hardy houseplant like the snake plant. Here’s how to help your plant recover quickly:
- Place it in bright, indirect sunlight for the next 1–2 weeks. Avoid direct sunlight immediately after repotting.
- Wait before watering again—let the top 1–2 inches of soil dry out.
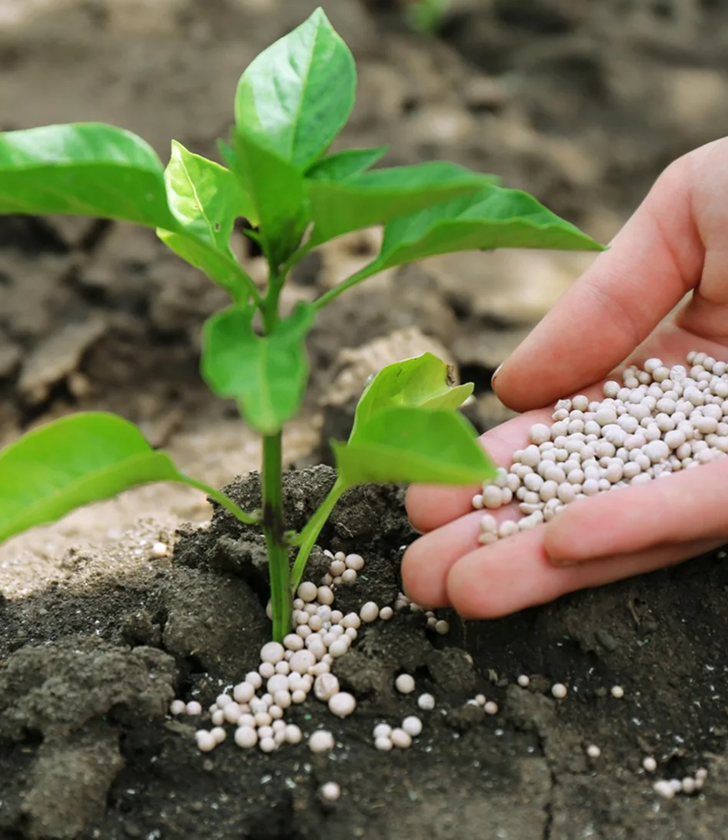
- Avoid fertilizing for at least 4 weeks to let the roots adjust naturally.
- Watch for signs of stress like drooping or yellowing leaves—but don’t panic! Slight changes are normal after a repot.
Bonus: How to Divide Snake Plants for Propagation
Want more indoor plants without buying them? Repotting is the perfect time to divide snake plants.
Steps to Divide Snake Plants:
- Remove the plant and shake off the soil.
- Look for pups—smaller growths at the base of the main plant.
- Gently tease the roots apart or cut between pups with a sterile knife.
- Repot each pup in a small container with the same well-draining soil.
- Follow the same watering and aftercare advice.
Dividing your plant helps prevent overcrowding and lets you share snake plant pups with friends and family!
Common Snake Plant Repotting Issues (and Fixes)
| Problem | Cause | Solution |
|---|---|---|
| Yellow, mushy leaves | Overwatering or root rot | Let soil dry, repot in fresh, dry mix |
| Brown leaf tips | Low humidity or underwatering | Increase humidity slightly, adjust water |
| Drooping leaves | Root-bound or unstable base | Repot into a wider pot |
| Slow growth | Old soil, compact roots, low light | Repot and relocate to brighter spot |
Why Snake Plants Are Ideal Houseplants
Whether you’re a seasoned plant parent or just starting your indoor plant journey, snake plants are a dream. Here’s why they continue to top houseplant lists:
- Tolerant of low light—great for bedrooms, offices, and shaded rooms
- Low watering needs—perfect for forgetful plant owners
- Air-purifying qualities—remove toxins like benzene and formaldehyde
- Architectural beauty—add vertical interest and style to interiors
- Long lifespan with proper care
Final Thoughts: A Healthy Snake Plant Starts with the Right Pot and Soil
Repotting is a simple but powerful way to keep your indoor plants thriving. From choosing the right pot size and shape to selecting a fast-draining soil mix, every detail makes a difference.
By understanding the signs of when your snake plant needs repotting and following this in-depth guide, you’ll prevent common problems like root rot and poor growth—ensuring your houseplant stays strong, stylish, and full of life.
So don’t wait until your pot cracks or your plant slumps. Give your snake plant the fresh home it deserves today.
FAQs
1. How often should I repot a snake plant?
Every 3–5 years or sooner if the plant becomes root-bound or shows signs of stress.
2. Can I use regular potting soil for snake plants?
Yes, but only if you amend it with perlite, sand, or cactus mix for better drainage.
3. Should I water immediately after repotting?
If the soil is dry, give a light watering. If roots were trimmed, wait 2–3 days before watering.
4. How can I tell if my snake plant has root rot?
Mushy, blackened roots and foul odor are clear signs. Trim affected roots and repot with fresh dry soil.
5. Can I repot during summer or winter?
Yes, but late winter to early spring is best. Repotting in summer? Keep it out of direct sunlight for a few weeks.
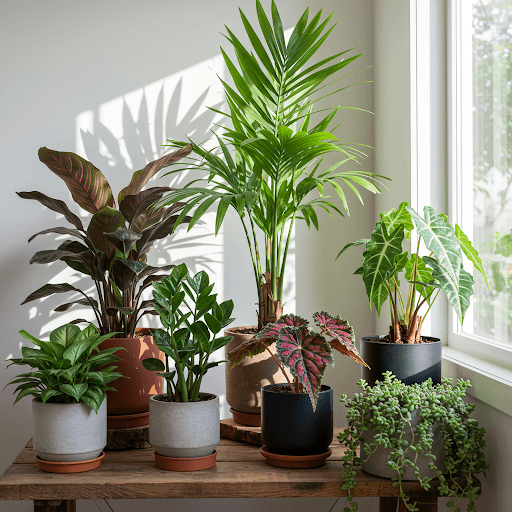
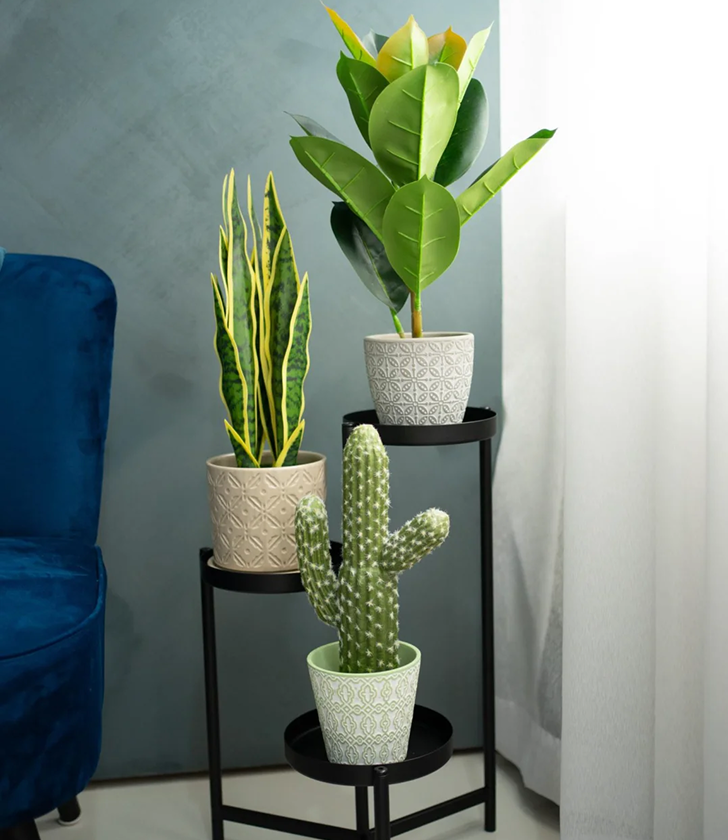
From low-maintenance snake plants to vibrant tropical foliage, our handpicked indoor plant collection has something for every space and style.
Browse Our Indoor Plant Collection