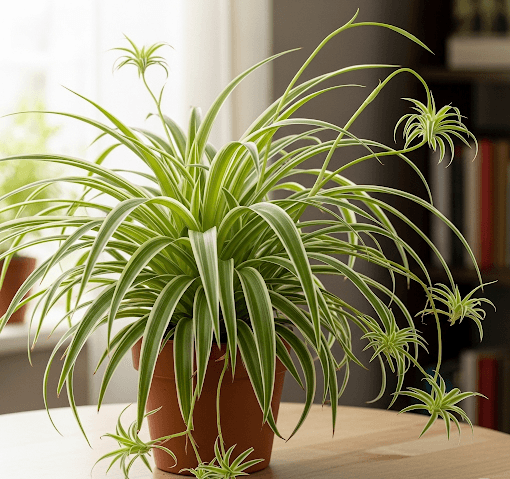
Spider plants (Chlorophytum comosum) are among the most cherished indoor plants, and it’s easy to see why. Known for their air-purifying abilities, low-maintenance nature, and elegant arching leaves, they are the go-to houseplant for both beginners and experts. But what if your once lush spider plant starts to look sparse, thin, or leggy? Don’t worry—this in-depth guide will teach you how to make a spider plant bushier, using organic and effective methods that are also eco-friendly indoor plant care solutions.
This blog post is a must-read for any houseplant lover who wants to create a thriving, fuller indoor garden with low-maintenance tropical houseplants like the spider plant.
Amazing Benefits & Styling Ideas of Spider Plants
Spider plants (Chlorophytum comosum) are beautiful, easy-care indoor plants that bring health benefits, pet safety, and endless styling options to any space. Here’s a quick look at why they’re a must-have for plant lovers.
1. Air-Purifying Power
Spider plants remove toxins like formaldehyde and benzene and release oxygen at night—perfect for bedrooms!
2. Pet & Kid-Friendly
Safe for cats, dogs, and little ones—non-toxic and stress-free.
3. Easy to Grow & Propagate
Low-maintenance and beginner-friendly. Grow more plants easily with spiderettes.
4. Mood & Stress Relief
Boosts productivity, reduces stress, and enhances calm spaces like work-from-home zones or spa-style bathrooms.
Why Your Spider Plant Looks Thin or Leggy (Beginner’s Guide)
Have you looked at your spider plant lately and thought, “Why does it look so weak and scraggly?” If your once-beautiful plant now appears thin, sparse, or like it’s reaching for something invisible — don’t worry. You’re not a bad plant parent! These changes are your spider plant’s way of asking for help.
Let’s break down the most common reasons your spider plant isn’t as bushy or healthy as it should be — and how you can easily fix them, even if you’re a complete beginner.
1. Not Getting Enough Light (The “Leggy” Problem)
Why it matters: Spider plants love bright, indirect light. If they’re placed in a spot that’s too dark — like a corner with no sunlight or a far-off shelf — they will stretch their leaves and stems in search of light. This causes them to look long and spindly, a condition known as “leggy” growth.
How to spot it:
- Long, stretched stems with few leaves
- New leaves look weak or far apart
- The plant looks like it’s “reaching out”
Simple fix:
Move your plant near a bright window — ideally one that faces east or north. Avoid placing it in direct sunlight (like a south-facing window without a curtain), as this can burn the leaves.
Beginner Tip: A grow light can also work wonders in darker homes!2. Inconsistent or Infrequent Watering
2. Inconsistent or Infrequent Watering
Why it matters: Spider plants are tough, but they still need regular water. If you forget to water for too long, or water too little, the plant’s leaves may dry up and fall off — leaving you with a sparse, thin-looking plant.
How to spot it:
- Leaves turning brown and crispy
- Sudden leaf drop
- Soil feels bone dry
Simple fix:
Check your plant’s soil every week. If the top inch feels dry, it’s time to water. Use filtered or distilled water when possible, as spider plants don’t love chemicals found in tap water.
Watering rule of thumb: About once every 7–10 days is ideal.
3. Outgrown Its Pot (Root-Bound Plant Problems)
Why it matters: If your spider plant has been in the same pot for too long, its roots may be too crowded. This is called being “root-bound.” When there’s no more room to grow, your plant can’t absorb water or nutrients properly, leading to stunted and weak growth.
How to spot it:
- Roots growing out of the pot’s drainage holes
- Water drains too quickly through the soil
- The plant hasn’t grown much in months
Simple fix:
Repot your spider plant into a pot that’s just 1–2 inches bigger in diameter. Use a light, well-draining potting mix with perlite or pumice. Gently loosen the roots and trim any dead or mushy ones before replanting.
Good to know: Spider plants actually like being slightly pot-bound, but there’s a limit.
4. Not Using Spiderettes to Fill Out the Pot
Why it matters: One of the easiest ways to make a spider plant bushier is by using its own baby plantlets, called spiderettes. These grow on long stems and can be replanted into the same pot to create a fuller, more dramatic look.
How to spot the issue:
- Your plant has “babies” hanging down but the main pot still looks empty
- Gaps in the soil with no foliage
- The plant looks like it’s made up of separate stems, not a full rosette
Simple fix:
Snip off healthy spiderettes and root them in water or directly in soil. Then plant them back into the main pot in areas that look sparse. With just a little time, you’ll have a lush, full spider plant!
Think of it like this: More spiderettes = more green in the same pot!
Quick Summary for Beginners
| Cause | What It Looks Like | How to Fix It |
| Low Light | Long stems, few leaves (leggy) | Move to a brighter spot, use grow lights |
| Inconsistent Watering | Droopy, dry leaves; leaf drop | Water regularly, keep soil slightly moist |
| Pot-Bound Roots | Roots escaping pot, slow growth | Repot in larger pot with fresh soil |
| Not Using Spiderettes | Gaps in pot, babies dangling unused | Replant spiderettes back into the pot |
Secret 1: Propagate Spiderettes for a Fuller Look
Spiderettes (also called “spider babies”) are the small plantlets that grow from the mother plant. These are your secret weapon for a bushier plant.
How to Propagate Spiderettes:
- Identify mature spiderettes with visible root nodes.
- Cut them off gently using sterilized scissors.
- Root in water for 5–7 days or directly plant in soil.
- Replant in sparse spots of your main pot.
This method creates the illusion of a single, fuller plant but is essentially a well-composed cluster. It’s one of the most natural ways to make spider plants grow fuller.
Secret 2: Strategic Pruning for Lush Growth
Trimming your spider plant correctly can significantly boost its volume. Pruning helps redirect the plant’s energy from non-essential growth (like excess spiderettes or damaged leaves) to foliage development.
How to Prune Spider Plants:
- Cut yellow, dead, or brown-tipped leaves at the base.
- Remove excess spiderettes to reduce energy drain.
- Trim lightly around edges to encourage central rosette growth.
Pro Tip: Always use sterilized scissors to prevent plant infections.
Secret 3: Provide Ideal Light and Humidity Conditions
Your spider plant might be thin because it’s not getting the light it needs. A common sign of this is “legginess” — when the stems stretch out with few leaves.
Ideal Light Conditions:
- Bright, indirect sunlight for 6–8 hours a day.
- East or north-facing windows are ideal.
- Use full-spectrum LED grow lights in low-light rooms.
Humidity Tips:
- Maintain 40–60% humidity for glossy, hydrated leaves.
- Use a humidifier, humidity tray, or mist regularly.
Secret 4: Repotting for Healthy Roots and New Growth
Spider plants like being a bit snug in their pots, but too much root crowding can cause thinning and stunted growth.
Signs It’s Time to Repot:
- Roots growing through drainage holes.
- Water drains too fast.
- Soil appears dry despite watering.
How to Repot:
- Choose a pot 1–2 inches larger in diameter.
- Use well-draining indoor potting mix.
- Trim any damaged or circling roots.
- Water gently and place in bright, indirect light.
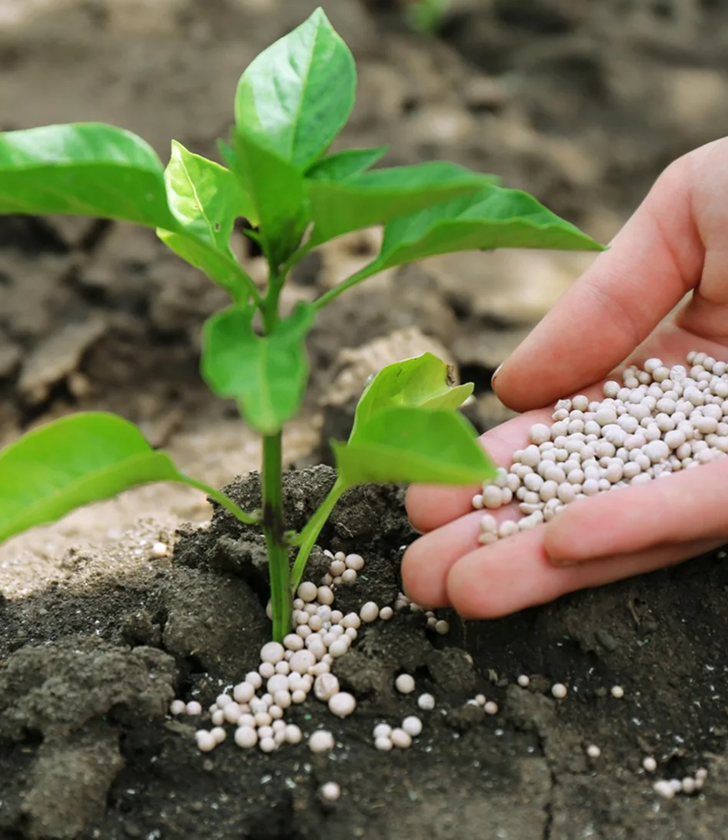
Bonus Tip: Seasonal Fertilizing
Feeding your spider plant during the growing season helps produce lush, abundant foliage.
Fertilizing Schedule:
- Use a balanced NPK (10-10-10 or 15-15-15) fertilizer.
- Apply every 2–4 weeks in spring and summer.
- Use organic options like fish emulsion for eco-friendly feeding.
- Skip fertilizing in winter when the plant is dormant.
Give your spider plant the balanced plant food it deserves for lush, vibrant growth.
Mistakes to Avoid When Growing Spider Plants
Even experienced gardeners sometimes run into trouble. If you’re a beginner, avoiding these mistakes will go a long way in ensuring your spider plant stays healthy and becomes bushier over time:
1. Overwatering
Too much water can lead to soggy soil and root rot. This prevents your plant from absorbing oxygen and nutrients. Tip: Only water when the top inch of soil feels dry. Use a pot with good drainage holes.
2. Too Much Direct Sunlight
While spider plants enjoy bright light, harsh sunlight can scorch their leaves and cause brown or crispy tips. Tip: Keep your plant in indirect sunlight, such as near a window with filtered light or a sheer curtain.
3. Low Humidity
Dry indoor air, especially in winter, causes the leaf tips to brown and curl. Tip: Maintain humidity between 40–60% using a humidifier or humidity tray. Grouping plants also helps.
4. Neglecting Pruning
When old or dead leaves aren’t removed, the plant wastes energy on unproductive parts and may stop producing new growth. Tip: Regularly trim off yellow or brown leaves to stimulate fresh foliage.
5. Using the Wrong Pot Size
If the pot is too large, the soil stays wet for too long. If it’s too small, the roots get cramped and nutrients can’t circulate. Tip: Choose a pot that is only 1–2 inches larger than the current one when repotting.
Noticed brown or crispy tips on your spider plant? This is often a sign of common care mistakes like low humidity, overexposure to sunlight, or watering issues. For a full breakdown on causes and solutions, check out our in-depth post: Why Does My Spider Plant Have Brown Tips? A Complete Guide to Prevention and Care.
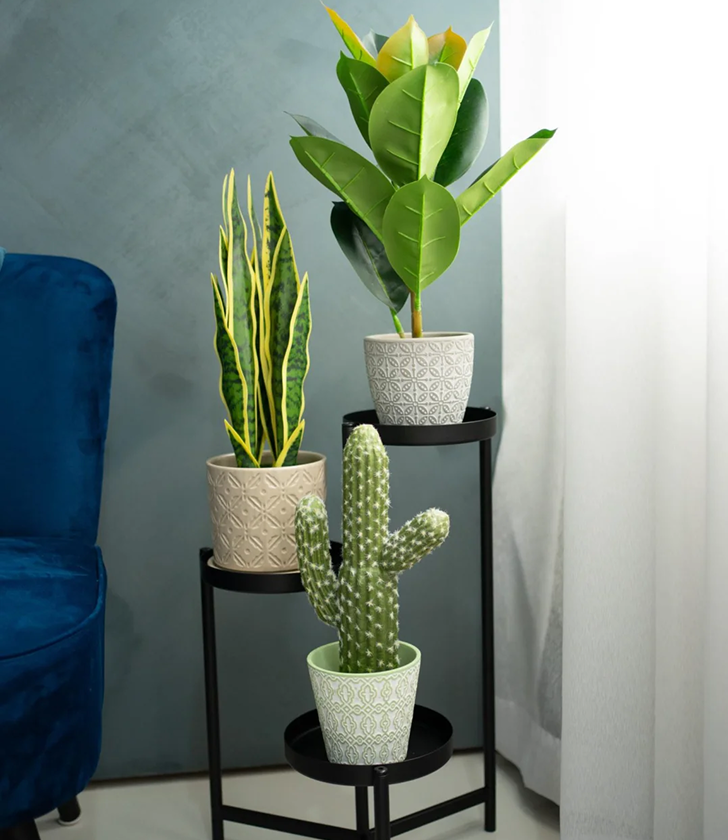
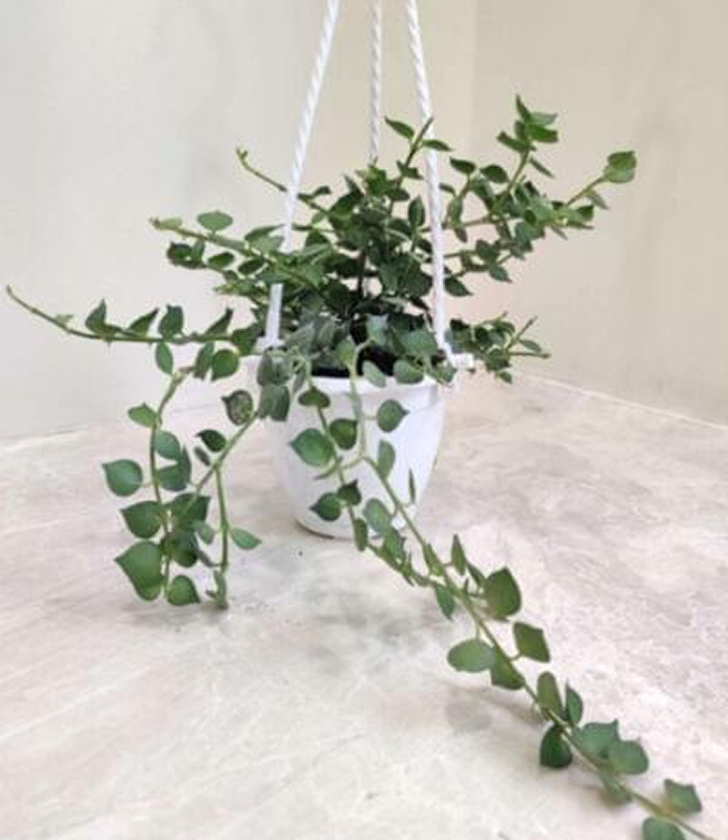
Styling Ideas for Spider Plants
Hanging Beauty
Use macramé or ceiling hooks near windows or showers.
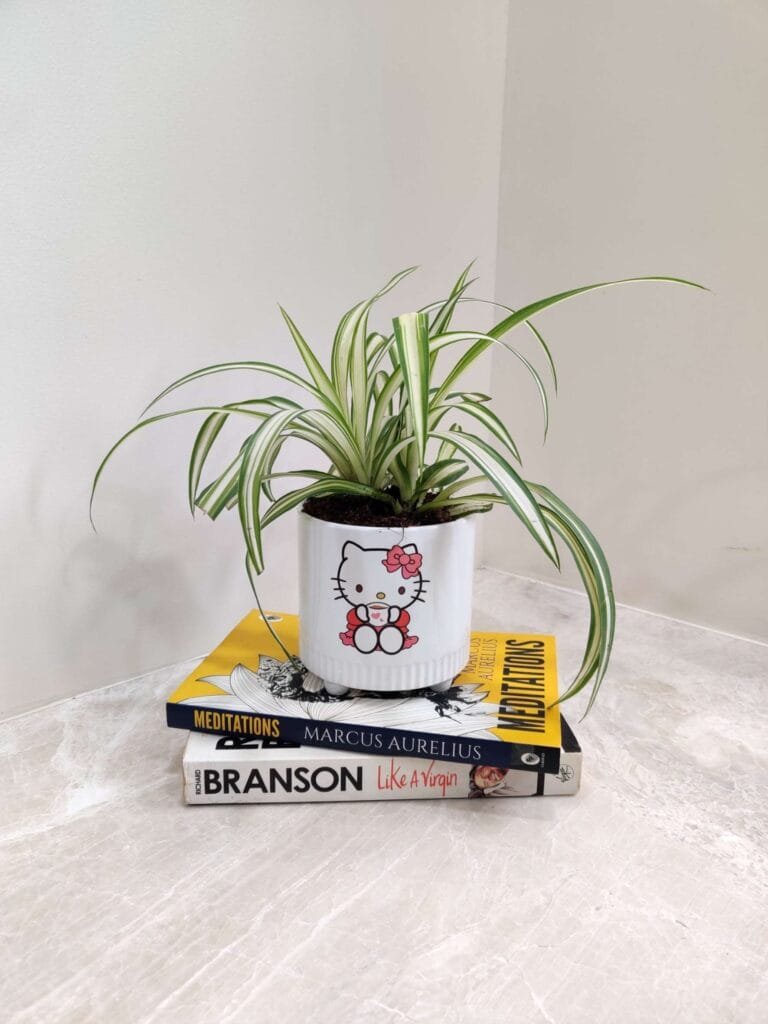
Shelf & Corner Decor
Style with books or candles on floating shelves or plant stands.
Artistic Displays
Shape into hearts or wreaths; try tabletop terrariums for a creative look.
Keywords: artistic indoor plant displays
Room-Friendly Placement
Great for bedrooms, bathrooms, and offices—functional and beautiful!
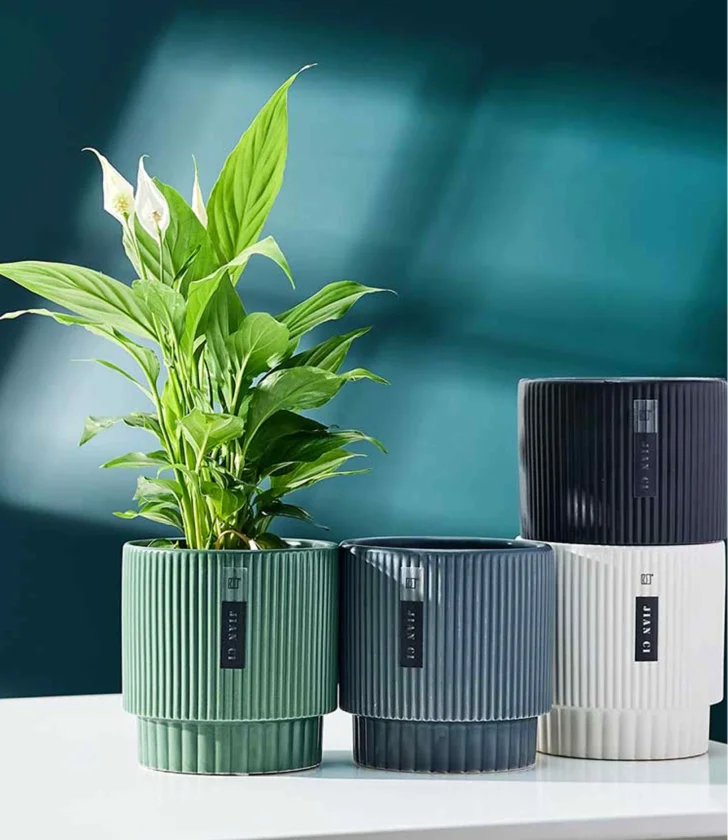
Stylish Planters
Match ceramic, boho baskets, or modern pots with your décor.
Spider plants are stylish, safe, and simple. They clean your air, fit any design, and thrive with little effort. A perfect choice for any indoor plant collection!
Looking to elevate your display? Explore our collection of stylish pots for spider plants to match your interior design and bring your plant styling ideas to life.
Final Thoughts: Create a Bushy Spider Plant You’ll Love
By using these simple, proven techniques—propagation, pruning, optimal lighting, and repotting—you can achieve the full, cascading look every indoor plant lover dreams of. Whether you’re working with a new plant or reviving an old one, these methods will help you grow fuller spider plants indoors.
Suggested Tools:
- Grow lights
- Humidifier
- Organic potting soil
- Sterile pruning scissors
With patience and consistency, your spider plant will transform into a lush masterpiece, becoming the star of your low-maintenance indoor jungle.
FAQs
1. How long does it take for spiderettes to grow after planting?
Typically 3–4 weeks under ideal light and watering conditions.
2. Can I use tap water for my spider plant?
Yes, but it’s better to use filtered or distilled water to avoid chemical buildup.
3. How often should I mist my spider plant?
2–3 times a week in dry climates.
4. Why is my spider plant not growing babies?
Likely due to insufficient light or being root-bound.
5. Can spider plants grow in low-light rooms?
They survive, but won’t thrive. Supplement with grow lights.

Ready to Transform Your Space?
Breathe cleaner air, style your home effortlessly, and enjoy the beauty of low-maintenance greenery—all with the timeless charm of a spider plant.