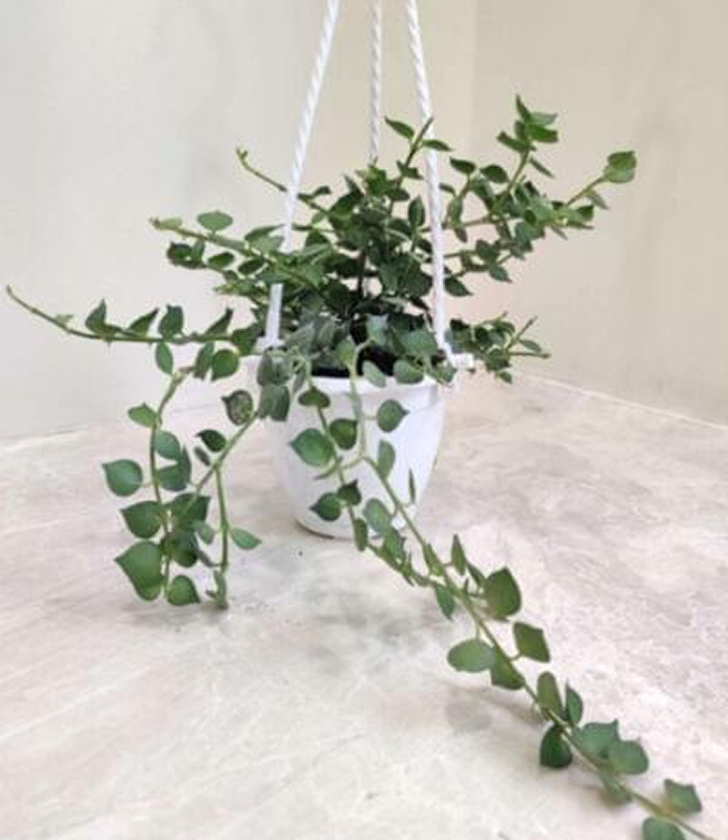

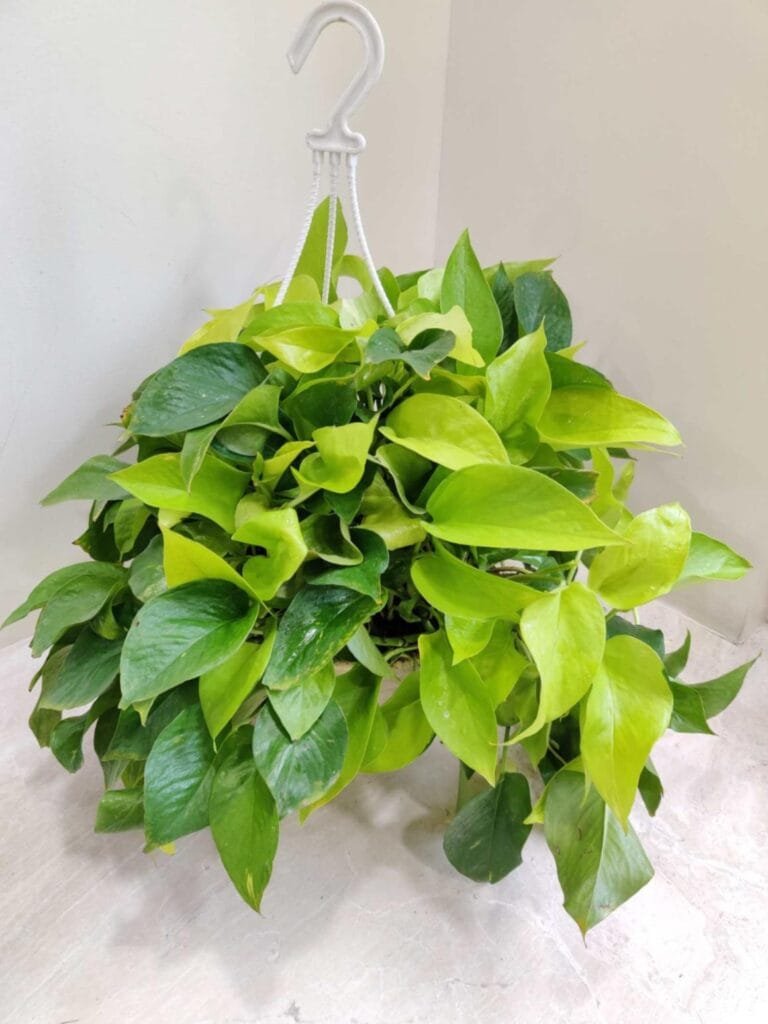
Are your Pothos leaves turning yellow, wilting, or looking mushy? If yes, your beloved houseplant may be suffering from a dreaded but common condition—root rot. Known for being low-maintenance and beginner-friendly, Pothos (Epipremnum aureum) is one of the most popular indoor plants globally. But even the hardiest plants can succumb to disease if proper care is overlooked.
In this ultimate guide, we’ll explore:
- What is root rot in Pothos?
- Common signs of root rot you shouldn’t ignore
- Step-by-step instructions to fix the issue
- How to prevent root rot in the future
- FAQs for houseplant lovers
What Is Root Rot in Pothos?
Root rot is a fungal disease that attacks the roots of houseplants like Pothos. It’s primarily caused by soil fungi such as Pythium, Phytophthora, or Rhizoctonia, which thrive in overly wet, compacted, or oxygen-deprived soil. Once the roots start rotting, they lose their ability to absorb nutrients and water, eventually killing the plant if left untreated.
Root rot is a silent killer—often going unnoticed until the damage becomes visible above the soil line. Fortunately, if you catch it early, you can rescue your plant and restore it to its full leafy glory.

1. Wilting Leaves Despite Moist Soil: The “Drowning” Paradox
Think of the roots as the plant’s plumbing system. They’re responsible for absorbing water from the soil and transporting it up to the leaves. When root rot sets in, the decaying roots lose their ability to function properly. Even though the soil is wet, the damaged roots can no longer efficiently take up that water. As a result, the leaves start to droop and wilt, just as they would if the plant were underwatered. This is why it’s crucial not just to check the soil moisture but also to observe the leaves’ condition.
2. Yellowing Leaves Along the Vines: A Nutrient Delivery Failure
Healthy roots are also essential for absorbing nutrients from the soil. These nutrients are like the vitamins and minerals that keep your Pothos vibrant and green. When root rot impairs root function, the plant can’t get the nourishment it needs. This often manifests as yellowing leaves. Unlike the natural yellowing of old, lower leaves, root rot-induced yellowing tends to affect multiple leaves along the vines simultaneously. The yellowing often starts at the base of the affected vines because those are the areas furthest from any still-functioning parts of the root system.
3. Brown and Mushy Stems Near Soil: Advanced Decay
The stems are the plant’s structural support and also play a role in transporting water and nutrients. When root rot progresses, the infection can spread upwards from the decaying roots to the base of the stems. The stems become soft and mushy because the plant tissue is breaking down due to the prolonged wetness and lack of oxygen around the roots. The discoloration to brown is another sign of this decay. This is a serious sign indicating that the rot is quite advanced and requires immediate attention.
4. Persistently Soggy Soil: The Underlying Cause
Pothos, like many houseplants, needs a balance of moisture and air in the soil. When the soil stays consistently wet, the spaces between the soil particles become filled with water, pushing out the oxygen that the roots need to “breathe.” This lack of oxygen creates an anaerobic environment, which is ideal for the growth of the fungi and bacteria that cause root rot. Soggy soil is often a result of overwatering, poor drainage in the pot (no drainage holes or a clogged drainage layer), or using a soil mix that retains too much moisture. Feeling the soil a couple of inches down can help you determine if it’s staying wet for too long.
5. Fungus Gnats Around the Plant: Nature’s Indicator
Fungus gnats are small, dark, short-lived flies that you often see hovering around the soil surface of your houseplants. They are attracted to moist, decaying organic matter, which is exactly what you find in soil affected by root rot. While fungus gnats themselves don’t directly cause root rot, their presence is a strong indicator that the soil is consistently too wet and that organic matter (like decaying roots) might be present. Seeing a lot of these little flies should prompt you to check the moisture level of your Pothos’s soil.
6. Stunted Growth and Leaf Drop: A Plant in Distress
In the active growing seasons of spring and summer, a healthy Pothos will typically put out new leaves and its vines will lengthen. If your plant suddenly stops growing or starts dropping healthy-looking leaves, it’s a sign that something is stressing it. Root rot significantly hinders the plant’s ability to absorb what it needs for growth and overall health. The plant may prioritize its survival by shedding leaves to reduce the demand on its compromised root system.
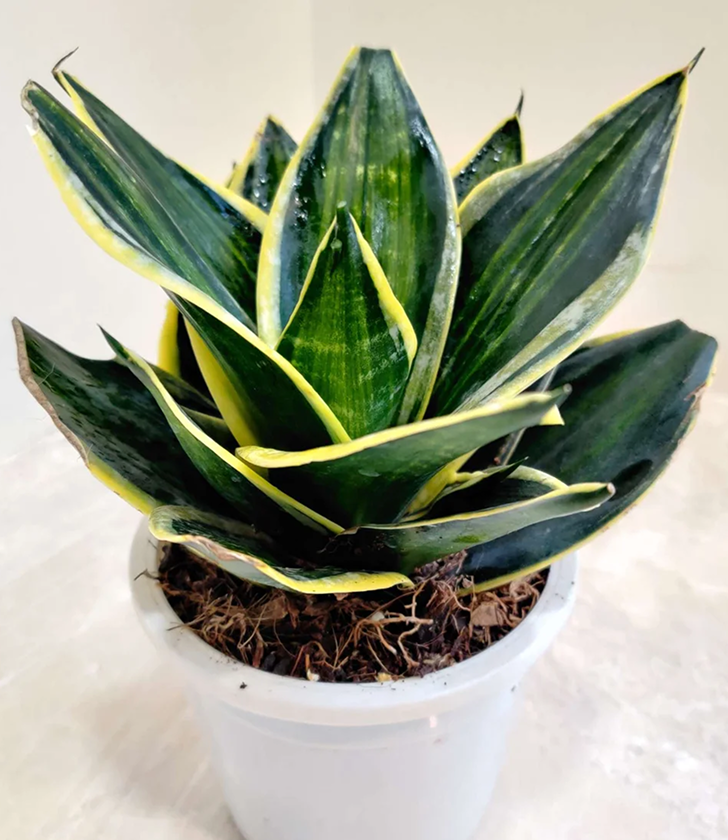
7. Brown, Mushy Roots with Foul Odor: The Definitive Diagnosis
This is the most conclusive way to identify root rot. Healthy Pothos roots are usually firm to the touch and white, cream-colored, or light tan. When root rot occurs, the affected roots become soft and mushy – you might even be able to squish them between your fingers. The color changes to brown or even black as the root tissue decays. Additionally, the rotting process often produces a characteristic foul odor, which some describe as smelling like decay or sulfur. To check the roots, you’ll need to gently unpot your Pothos and examine the root ball.
By understanding these signs and what they indicate about your Pothos’s health, you’ll be much better equipped to catch root rot in its early stages and take appropriate action to save your beloved plant! Remember that often, multiple signs will be present simultaneously as the condition progresses. Regular observation of your Pothos is key to its well-being.
How to Fix Root Rot in Pothos: Step-by-Step
Think your Pothos has root rot? Don’t panic. Follow these steps to save your plant.
Step 1: Remove the Plant from Its Pot
Gently tip your Pothos out of its pot. Be careful not to break the stems or further damage the roots. Do this near a sink or outdoors if possible.
Step 2: Rinse and Inspect the Roots
Use lukewarm water to wash off all the soil so you can clearly see the root system. Examine the color, texture, and smell of the roots.
Healthy Roots: Firm, white to light tan
Unhealthy Roots: Soft, mushy, brown or black, with foul odor
Step 3: Trim Affected Roots
Use sterilized scissors or pruning shears to cut away every trace of mushy or darkened root tissue. If in doubt, cut back slightly more to ensure no rot remains.
Step 4: Treat with Fungicide
If rot was extensive, you can treat the remaining healthy roots with a fungicide like one containing mefenoxam or fosetyl-aluminum. Follow label directions carefully.
Step 5: Repot in Fresh, Well-Draining Soil
Use a new pot with drainage holes and fill it with fresh potting mix. Consider a soil blend with perlite, coco coir, or orchid bark to improve drainage and aeration.
Never reuse old, infected soil—it can reintroduce pathogens to your newly trimmed plant.
Step 6: Replant and Water Lightly
Set the Pothos in its new home. Gently pat down the soil around the roots. Water just enough to help the plant settle in, and let the excess drain completely.
Step 7: Post-Treatment Care
- Place in bright, indirect light
- Wait until the top 1-2 inches of soil are dry before watering again
- Hold off on fertilizer for 4-6 weeks until new growth appears
Preventing Root Rot in the Future
Water Smartly:
Feel the top inch of soil; water only when dry. Use room temperature water and water thoroughly until drainage occurs. Avoid a strict watering schedule; adjust based on your plant’s needs and environmental conditions.
Improve Drainage:
Use pots with drainage holes to allow excess water to escape. Choose an airy potting mix amended with perlite, coco peat, or coarse sand to enhance soil aeration and prevent waterlogging around the roots.
Empty Saucers:
After watering, promptly empty any water that collects in the saucer beneath the pot. Allowing the pot to sit in standing water leads to soggy soil and root suffocation.
Adjust for Weather:
Reduce watering frequency during cooler months (fall and winter) when plant growth slows and water evaporates less quickly. Observe your plant’s moisture needs as they change with the seasons.
Regular Checks:
Inspect your houseplants weekly for early signs of stress, such as wilting or yellowing leaves. Early detection of issues makes them easier to address before root rot takes hold.
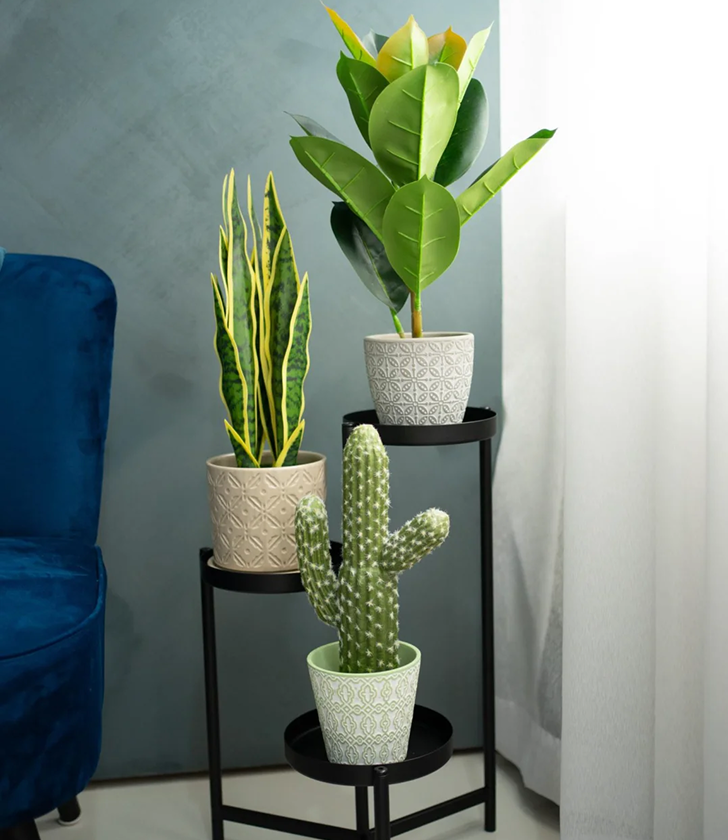
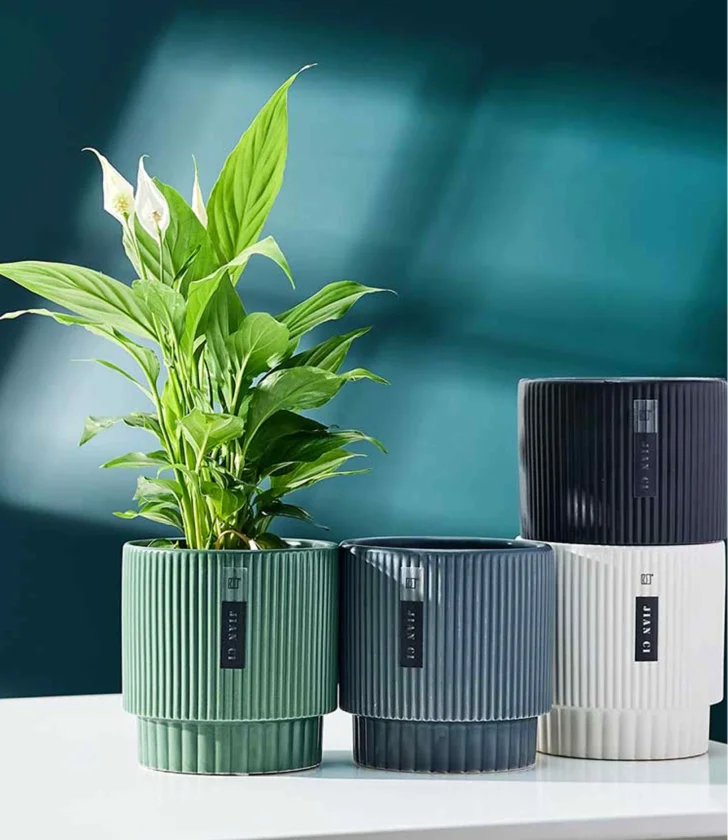
Pot Material Considerations:
Different pot materials affect soil moisture. Terracotta pots are porous and allow for more evaporation, which can be beneficial in preventing overwatering. Plastic and glazed ceramic pots retain moisture longer, so you might need to water less frequently. Be mindful of the pot material when determining your watering schedule.
Proper Pot Size:
Using a pot that is significantly too large can hold more moisture than the plant’s roots can absorb, increasing the risk of soggy soil. Choose a pot that is appropriately sized for your Pothos, allowing for some growth but not excessive soil volume. Repot only when the plant becomes root-bound.
Air Circulation:
Good air circulation around your plant helps the soil dry out more evenly and reduces the humidity at the soil surface, which can discourage fungal growth. Ensure your Pothos is in a location with decent airflow, avoiding overly stagnant or enclosed spaces.
Avoid Over-Compacting Soil:
When repotting, gently loosen the roots and avoid pressing the new soil down too firmly. Over-compacting the soil reduces aeration and hinders drainage.
Quarantine New Plants:
Before introducing a new Pothos (or any houseplant) to your existing collection, it’s a good practice to quarantine it for a few weeks. This allows you to observe it for any signs of pests or diseases, including early indicators of root issues that might have occurred before you acquired it.
Be Mindful of Soil Layers:
Avoid creating distinct layers of different materials (like a thick layer of gravel at the bottom of a pot without drainage holes). This can actually impede drainage rather than improve it, as water can get trapped in the upper soil layers. If using a drainage layer with a pot that does have drainage holes, ensure it’s not so thick that it reduces the overall soil volume too much.
Recommended Products for Pothos Plant Care
| Product Type | Recommendation |
|---|---|
| Potting Mix | Well-draining mix with perlite and coco peat |
| Pot | Ceramic or plastic pot with bottom drainage hole |
| Fungicide | Organic sulfur-based or systemic fungicide |
| Pruning Tools | Stainless steel shears (always sterilize before use) |
Looking to buy quality Pothos or ceramic indoor plant pots? Check out our exclusive collection —curated for serious plant parents and beginners alike!
Final Thoughts
Root rot is a silent but deadly condition for any houseplant, especially moisture-sensitive ones like Pothos. Fortunately, with a watchful eye and swift action, it’s often reversible.
By understanding the symptoms—yellowing leaves, mushy stems, soggy soil—and addressing the underlying causes like poor drainage or overwatering, you can bring your Pothos back from the brink.
Pothos thrives in care that balances hydration and aeration. Give your plant roots room to breathe, and it will reward you with long, trailing vines and lush, green foliage.
FAQs
1. Can a Pothos recover from root rot?
Yes—if caught early. Trim affected roots, repot in fresh soil, and adjust watering habits.
2. How often should I water my Pothos?
Typically every 1-2 weeks. Always check the soil first—only water when the top inch is dry.
3. Can I propagate a Pothos with root rot?
Absolutely. Trim healthy sections above the rot, and root them in clean water or fresh soil.
4. Is root rot contagious to other plants?
Yes, if you reuse contaminated soil or tools. Always clean pots and tools thoroughly.
5. Why are fungus gnats a problem?
They thrive in moist, decomposing soil. Their presence often signals overwatering or poor soil health.
A Little Love Grows Lush: With mindful care, your money plant will reward you with its verdant charm.