Are you dreaming of growing a lush indoor jungle but don’t want to keep buying new houseplants? Great news: many popular houseplants can be propagated from just a single leaf! That’s right—no fancy tools, no expensive kits. Just a healthy leaf, some patience, and the right know-how.
In this complete guide, we’ll walk you through houseplants you can grow from leaves, how to propagate each one step by step, and insider tips to make your indoor plant propagation journey a success.
Whether you’re a seasoned plant parent or just starting your indoor gardening journey, this guide offers cost-effective, low-maintenance ways to expand your houseplant collection—all from the comfort of your home.
Why Propagate Houseplants from Leaves?
If you’ve ever admired a friend’s lush indoor jungle or felt the urge to expand your own plant collection, but hesitated because of cost or space—leaf propagation might be exactly what you need.
Leaf propagation is a simple, low-cost way to multiply your favorite houseplants using just a single healthy leaf. It’s not only satisfying but also practical, especially for beginners or those working with limited space or budget.
Let’s take a closer look at why this method is growing in popularity among plant lovers:
1. Cost-Effective Plant Parenting
Buying new plants every time you want to grow your collection can add up fast. But with leaf propagation, you can grow multiple new plants from just one mother plant—at zero cost. Whether it’s a Snake Plant, African Violet, or a Jade Plant, a single leaf can become a whole new plant with just a bit of care.
Why it matters:
- You save money.
- You avoid frequent trips to nurseries.
- You can grow an entire garden from just a few plants.
2. Perfect for Small Spaces
Not everyone has a backyard or large balcony. Indoor propagation from leaves is ideal for apartments, dorms, or compact homes.
You can root leaves in small pots, trays, or even jars on windowsills. They don’t take up much room and can grow peacefully in low to medium light conditions depending on the species.
Pro Tip:
Start with a small propagation tray near your kitchen window or bedroom shelf—it’s decorative and functional.
3. Beginner-Friendly Gardening
You don’t need to be a horticulturist or invest in complex equipment to start propagating plants. All you need is:
- A healthy leaf
- A clean pair of scissors
- A small container and the right soil or water
- A bit of patience and care
There’s no need for rooting hormones (though helpful in some cases), and many plants like Peperomia, Burro’s Tail, and Echeveria root quickly with minimal effort.
This makes it the perfect entry point for beginners who want to test their green thumb without risking failure.
4. Sustainable and Eco-Friendly
Propagation from leaves encourages a more sustainable approach to houseplant ownership. Instead of buying plants wrapped in plastic or shipped from afar, you can grow your own using what you already have.
You’ll:
- Reduce waste
- Avoid excessive packaging
- Limit the environmental footprint of plant shopping
- Support a circular, regenerative gardening habit
Plus, leaf-propagated plants make excellent gifts. Imagine giving your friend a home-grown Jade Plant in a pretty pot—it’s meaningful, cost-effective, and better for the planet.
5. A Rewarding Experience
Watching a single leaf grow roots, develop baby shoots, and evolve into a thriving plant is an incredibly satisfying journey. It teaches:
- Patience
- Observation
- Care routines
- A deeper understanding of your plant’s needs
For many, propagation is not just about growing plants—it’s about building a connection with nature and celebrating small wins along the way.
Houseplants That Can Grow from Leaves
Here’s a detailed breakdown of indoor plants you can grow from a single leaf, along with propagation tips.
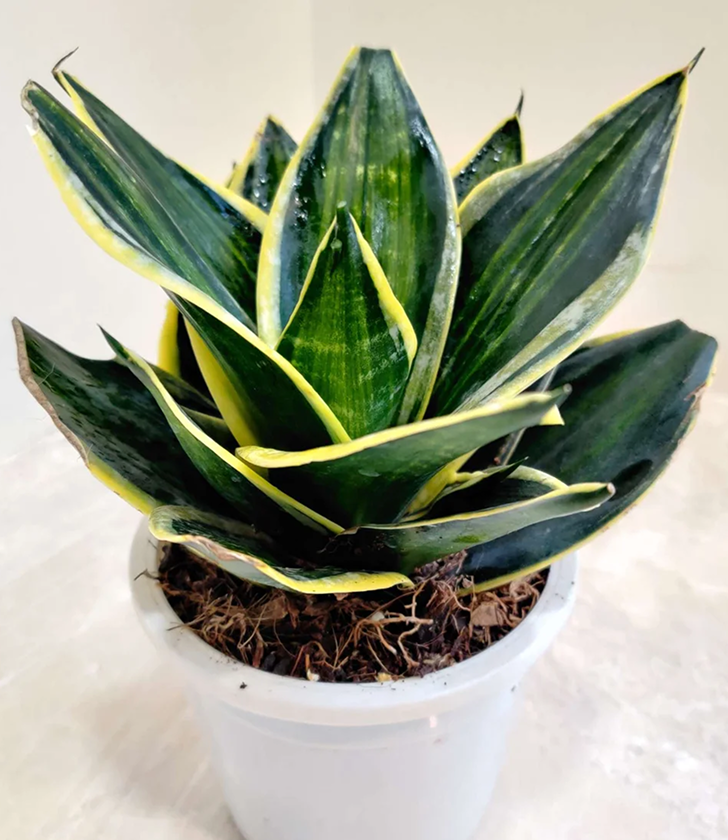
Snake Plant Propagation (Leaf Method)
- Cut a Healthy Leaf
Use clean scissors to cut a mature, undamaged leaf from the base. - Divide into Sections
Cut the leaf into 4-inch pieces.
Mark the bottom of each piece to avoid planting upside down. - Callus the Ends
Let cuttings dry for 1–2 days to prevent rot. - Choose Method
Soil: Plant bottom end 1 inch deep in well-draining soil.
Water: Place bottom end in water, change water every few days. - Light & Care
- Bright, indirect light
- Keep soil moist (not wet)
- Wait 3–6 weeks for roots
- Transplant rooted cuttings if using water
Effortless, budget-friendly, and beginner-friendly way to multiply Snake Plants!

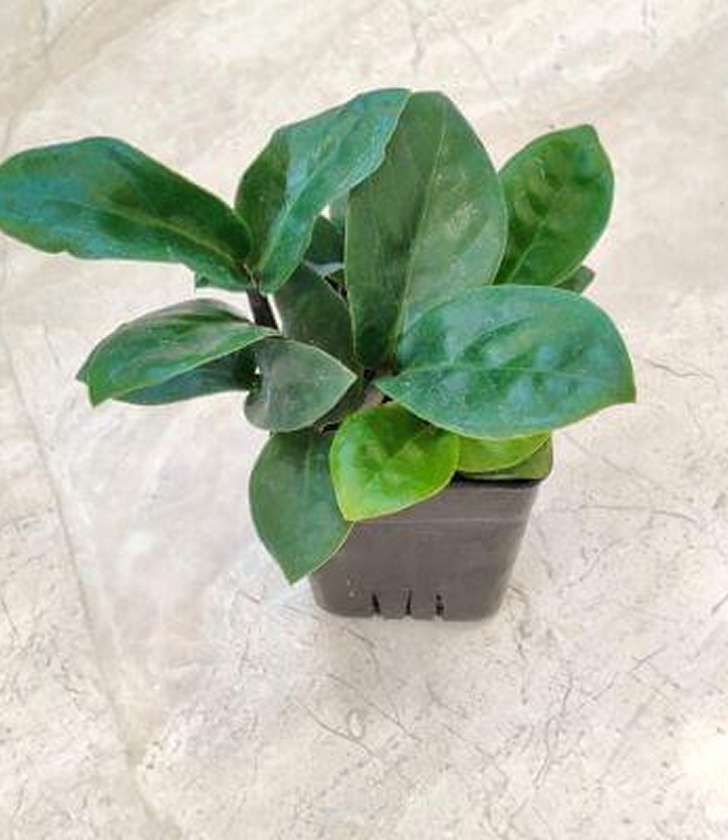
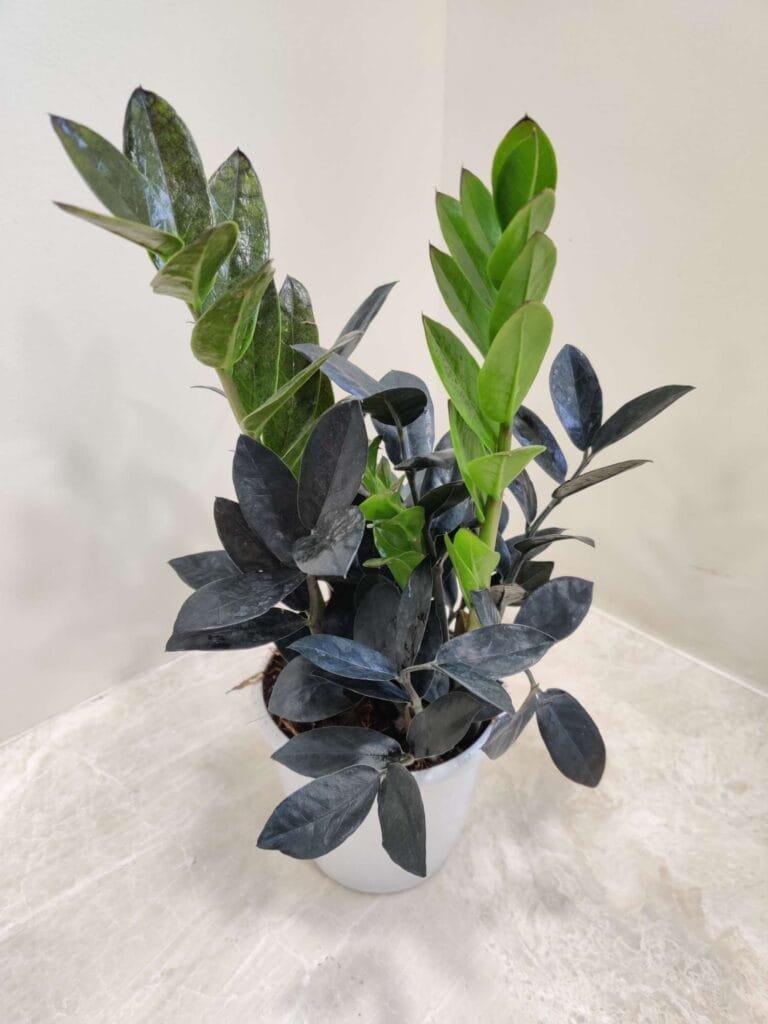
ZZ Plant (Zamioculcas zamiifolia) – Grow from a Single Leaf
Propagation Method:
Gently pluck a healthy leaf from the plant, ensuring it includes a small base (where it connects to the stem). Let it air-dry for a few hours.
Planting:
Insert the base of the leaf 1–2 cm deep into a small pot filled with a well-draining mix—use 50% potting soil and 50% perlite or coarse sand.
Watering:
Lightly mist the soil to keep it slightly moist, never soggy. Overwatering can cause rot.
Light & Location:
Place in a warm, bright spot with indirect light. Avoid direct sun.
Growth Time:
Be patient—rooting takes 2–3 months, and new shoots may appear in 6–9 months.
Pro Tip:
Use multiple leaves in one pot to improve success rate.
How to Propagate Begonia Rex from a Leaf
1. Choose a Healthy Leaf
Select a mature, undamaged leaf with visible veins.
2. Cut the Veins
Flip the leaf over and use a sterile blade to make small cuts along the major veins, especially near the base.
3. Prepare the Soil
Use a shallow tray filled with moist, well-draining propagation mix (like cocopeat + perlite or fine sand).
4. Pin the Leaf Flat
Place the leaf (cut side down) on the soil and gently pin it down using paperclips or toothpicks to ensure contact with the surface.
5. Create a Humid Environment
Cover the tray with a clear plastic dome or zip-lock bag (with small holes for air). This traps humidity, which is crucial.
6. Light & Temperature
Keep in bright, indirect (filtered) light. Maintain warmth—ideally around 21–25°C (70–77°F).
7. Wait & Mist
Mist lightly every few days. Within 3–6 weeks, tiny plantlets will begin sprouting from the cut vein areas.
8. Transplant Gently
Once plantlets have a few leaves and roots, carefully separate them and pot individually.
Quick Tips
- Avoid direct sun—it scorches leaves.
- Keep humidity high but avoid soggy soil.
- Use a sterile blade to prevent disease.
- Be patient—Begonia leaf propagation is slow but rewarding!

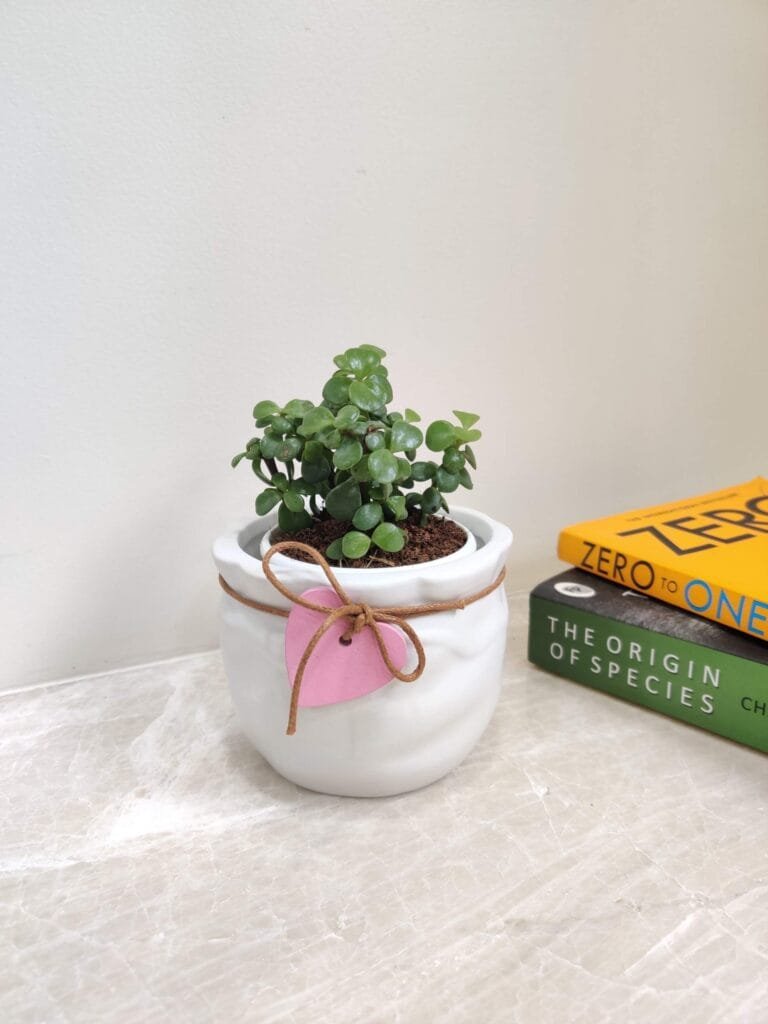
Jade Plant (Crassula ovata) – Easy Leaf Propagation
1. Select Healthy Leaf:
Choose a mature, plump leaf from the base of the plant.
2. Let It Callus:
Place the leaf in a dry, shaded spot for 2–3 days until the cut end forms a dry callus. This prevents rot when planted.
3. Planting:
Lay the callused end horizontally on top of a well-draining succulent mix. Gently press the end into the soil.
4. Watering:
Do not water immediately. Wait 1–2 weeks. Tug gently—if rooted, begin light watering when soil is dry.
5. Light:
Place in bright, indirect sunlight (a sunny windowsill with filtered light is perfect).
6. Growth:
In a few weeks, tiny roots and baby plants will form from the leaf base.
Tip: Use pots with drainage holes and avoid direct sun to prevent burning.
This method is low-effort, beginner-friendly, and perfect for indoor propagation.
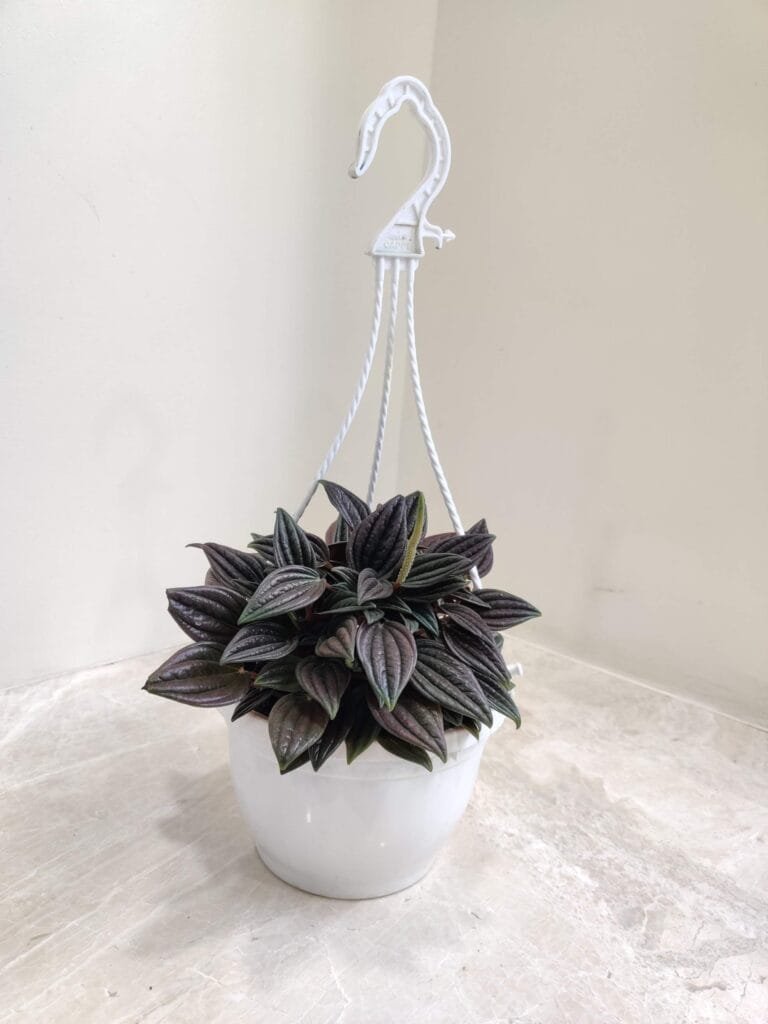
How to Propagate Peperomia from Leaves – The Effortless Way
Peperomia, often called the Radiator Plant, is one of the easiest houseplants to propagate—perfect for both beginners and collectors.
What You Need:
- A healthy, mature leaf (or even half a leaf)
- Moist, well-draining soil (mix of peat and perlite works great)
- A small pot or tray
- Bright, indirect light
Steps:
- Cut a healthy leaf at the base, ideally with the petiole (leaf stem).
- Optional: Cut the leaf in half horizontally to grow two plants.
- Plant the base (or cut side) into moist soil.
- Keep the soil lightly moist—not soggy.
- Cover with a clear plastic bag for humidity (optional but speeds up rooting).
- Place in bright, indirect light.
What to Expect:
Roots typically form within 2–3 weeks, and baby leaves appear shortly after. With minimal care, your new plant will thrive quickly.
Step-by-Step: How to Propagate Houseplants from Leaves (Beginner-Friendly Guide)
Leaf propagation may sound scientific, but it’s surprisingly easy—and incredibly rewarding. Whether you’re growing succulents, trailing vines, or flowering houseplants, following these simple steps can help you multiply your favorite indoor plants without spending a rupee.
Let’s break it down in detail so anyone can get started confidently:
1. Choose a Healthy Leaf
Start with a mature, undamaged leaf from a healthy, actively growing plant. Avoid leaves that are:
- Yellowing or wilting
- Torn, bruised, or pest-infected
- Too young or too old (they root slower)
Pro Tip: Morning is the best time to take cuttings because the plant is well-hydrated and resilient.
2. Cut Properly
Use clean, sharp scissors, pruning shears, or a sterilized knife to remove the leaf. Clean cuts help the plant heal faster and reduce the risk of infection.
- For non-succulents (e.g., African Violets, Peperomia), take the entire leaf with the petiole (small stem at the base).
- For succulents (e.g., Jade Plant, Kalanchoe), gently twist off or cut the leaf at the base without damaging the parent plant.
Sterilize your tools with rubbing alcohol or hot water to prevent bacterial infections.
3. Let the Leaf Callus (For Succulents)
This step is crucial for succulents like Echeveria, Jade, and Burro’s Tail.
- After cutting, place the leaf in a shaded, dry area for 1–4 days.
- This drying process helps form a protective callus at the cut end, which reduces the risk of rot once planted.
Tip: The thicker the leaf, the longer it needs to callus. Aloe, for example, may take a week.
4. Plant in a Suitable Medium
Choose a well-draining propagation mix depending on the plant type:
- For succulents: Use a cactus mix or blend of 50% river sand + 50% coco peat or perlite
- For tropical non-succulents: Use peat moss + vermiculite or light potting soil with good aeration
Plant the cut end of the leaf just barely into the soil or lay it flat (for succulents). Ensure the soil is damp but not overly wet.
🪴 Use shallow containers or seedling trays to root multiple leaves together.
5. Control Water Carefully
Too much water = rot. Too little = dry, dead leaf.
- Keep the soil consistently moist (not soggy) using a spray bottle or light watering.
- Succulents prefer occasional misting. Non-succulents may need more frequent hydration.
- Avoid pouring water directly over the leaf—moisten the soil around it.
Pro Tip: Cover with a clear plastic dome or zip-lock bag (with holes) to create a mini greenhouse and lock in humidity.
6. Ensure Light and Warmth
Place your container in a location that receives:
- Bright, indirect light (not direct sun, which can scorch cuttings)
- A stable temperature between 18–24°C (65–75°F)
If your home has poor light, a grow light can supplement sunlight effectively.
Avoid cold windowsills or air drafts, especially in winter. Warmth speeds up root development.
Bonus Tips for Successful Leaf Propagation:
- Label your cuttings to track progress
- Don’t overcrowd—air circulation is essential
- Avoid reusing old, infected soil
- Propagate during spring or early summer for best results
Tools You’ll Need for Leaf Propagation
- Sharp pruning shears or bonsai scissors
- Small pots or seed trays
- Cocopeat and river sand or cactus soil
- Spray bottle for misting
- Humidity dome or clear plastic bag (optional)
- Grow light (for low-light homes)
When is the Best Time to Propagate?
Spring (March–May) is the ideal season when plants are in their active growth phase.
Summer is also suitable, especially for tropical plants.
Avoid winter, as many houseplants go dormant, leading to slower rooting.
Top Mistakes to Avoid in Leaf Propagation
- Cutting from unhealthy or dormant plants
- Overwatering (rot risk!)
- Using dull or dirty tools
- Not allowing cut ends to dry
- Keeping in low light
- Using the wrong soil mix
Final Thoughts
Growing indoor plants from a single leaf is a fun, low-cost way to expand your green space, improve air quality, and cultivate patience. Whether you want to create gifts for loved ones, start a side hustle, or simply enjoy a hobby, this method delivers beauty and satisfaction.
Start small. Be curious. And remember: from a single leaf, a forest can grow.
FAQs
Can all houseplants be propagated from leaves?
No. Only certain species like Peperomia, Snake Plant, and Jade Plant root well from leaves. Always check the method that works for your plant.
How long does it take for a leaf to grow into a plant?
Depending on the species, it can take 2–12 weeks just to form roots. Full plants take months.
Is it better to root in water or soil?
Some plants root better in water (Pilea, Peperomia), others in soil (Kalanchoe, Burro’s Tail). Experiment based on your plant type.
What is the cheapest way to multiply houseplants?
Leaf propagation! It requires no special equipment and multiplies your plants for free.
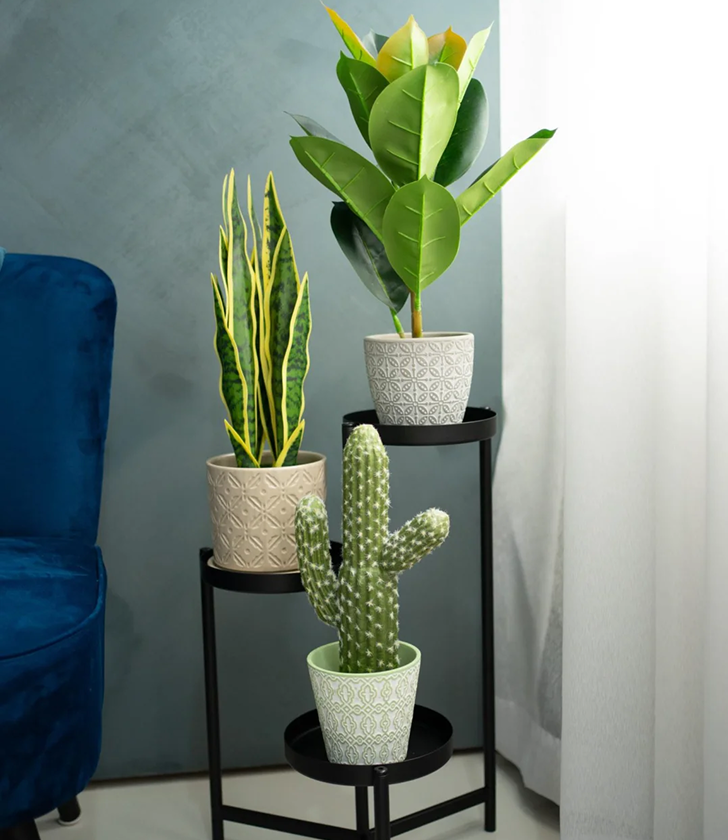
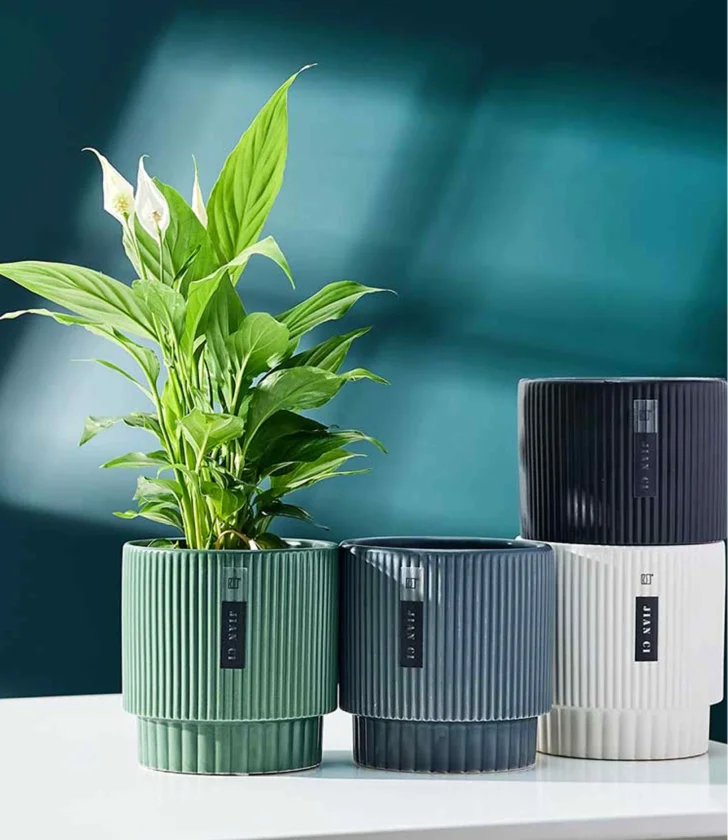
Explore Our Indoor Plant Collection –
Discover leaf-loving houseplants perfect for effortless propagation. Start small, grow big—right from a single leaf!